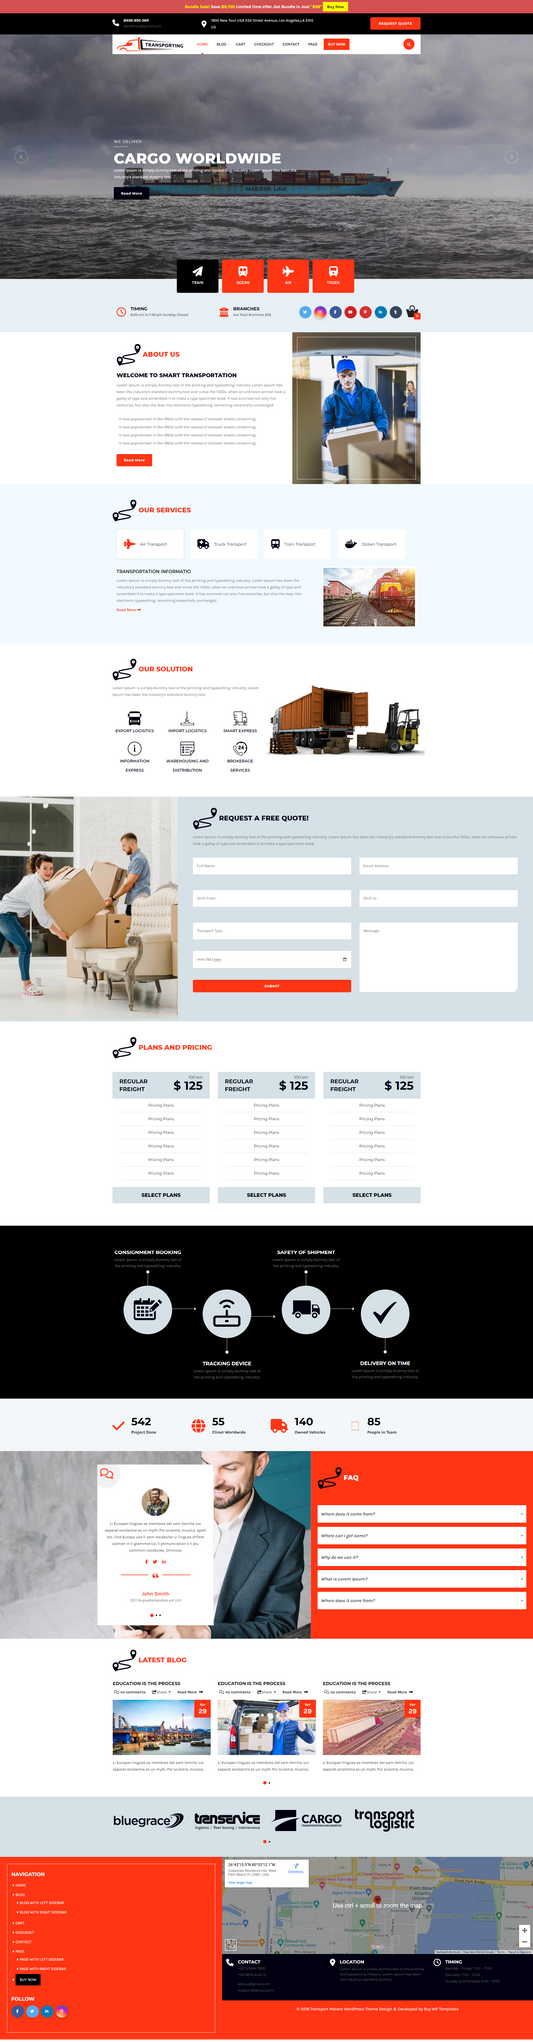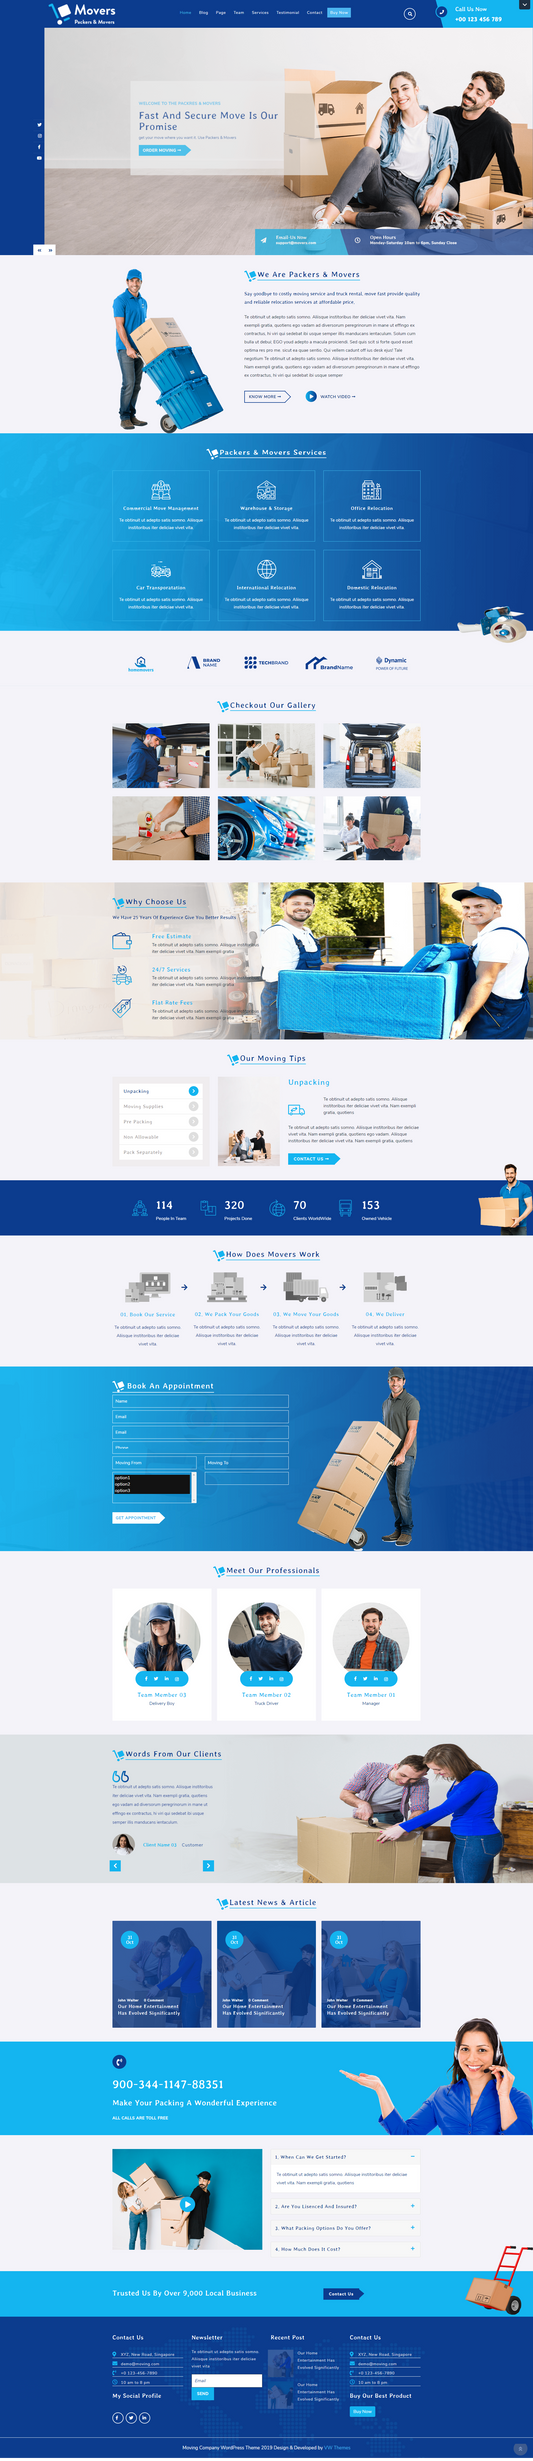

Step by Step Guide to Build a Ecommerce Website With WordPress
Starting an online store is one of the most effective ways to sell products and reach customers across different locations. With the growing demand for online shopping, businesses of all sizes are looking for reliable ways to launch their own ecommerce websites. Platforms like WordPress make the process easier by providing tools that help you design, manage, and grow your store without needing advanced technical knowledge. From product management to payment integration, everything can be handled through a single dashboard.
If you are planning to build a ecommerce website with WordPress, understanding the correct setup process is essential. In this guide, we will walk through the complete process step by step, covering everything from planning your store and installing WordPress to configuring payments, shipping, and launching your ecommerce website successfully
Why Use WordPress to Build an Ecommerce Website?
Many businesses choose WordPress to create their online stores because it is flexible, easy to manage, and highly customizable. When you build a ecommerce website with WordPress, you can design your store, manage content, and control every aspect of your website from a single dashboard.
With the help of WooCommerce, WordPress can easily be transformed into a fully functional ecommerce platform. WooCommerce allows you to add products, manage orders, set up payments, and configure shipping options without needing advanced technical skills.
Another advantage of Premium WordPress templates is the wide range of themes and plugins available. These tools allow you to customize your store’s design and add features as your business grows. This flexibility makes WordPress a reliable and scalable platform for building a professional ecommerce website.
Step-by-Step Guide to Build a Ecommerce Website
Creating an ecommerce website may seem complex at first, but with the right tools and process, it becomes much easier. Follow the steps below to set up your online store and start selling products successfully.
Step 1: Plan Your Ecommerce Store and Product Strategy
Before starting the technical setup, you should first plan how your online store will work. This includes deciding what type of products you will sell, who your target customers are, and how your store will be structured. Planning helps you organize your website efficiently once the setup begins.
Start by identifying your product categories and pricing strategy. You should also decide which countries or regions you will ship to and what payment options you want to provide. Creating a list of important pages such as Home, Shop, About, and Contact will also help when building the site later.
You should also prepare your store name, branding colors, and logo. These elements will be used when customizing the design of your website.
Step 2: Register a Domain Name and Choose Web Hosting
To create your online store, you will need a domain name and a web hosting service. The domain name is the address people will use to visit your website, while hosting stores your website files on a server.
Choose a hosting provider that supports WordPress installation and offers strong performance, security, and uptime. After selecting a hosting plan, you can register a domain name that represents your brand.
Once both are purchased, connect your domain to your hosting account through the hosting dashboard. After the connection is completed, your website environment will be ready for installing WordPress.
Step 3: Install WordPress and Access the Admin Dashboard
The next step to build a ecommerce website with WordPress is installing WordPress on your hosting account. Most hosting providers offer a one-click WordPress installation tool that simplifies the process.
Log in to your hosting control panel and locate the WordPress installer. Choose your domain name, enter your website title, and create a username and password for the admin account. Once the installation is complete, you can access your website dashboard by visiting:
yourdomain.com/wp-admin
From the WordPress dashboard, you will be able to manage your website, create pages, upload media, install plugins, and customize your website design.
Step 4: Install WooCommerce to Turn Your Site into an Online Store
Install WordPress templates by itself creates a standard website. To sell products, you need ecommerce functionality, which can be added using WooCommerce.

In the WordPress dashboard, go to Plugins → Add New and search for WooCommerce. Click Install and then Activate the plugin. Once activated, the WooCommerce setup wizard will appear.
The wizard will ask for important store information such as your business location, currency, and the types of products you plan to sell. It will also automatically generate key pages like Shop, Cart, Checkout, and My Account, which are necessary for online shopping.
Step 5: Configure WooCommerce Store Settings
After installing WooCommerce, the next step to build a ecommerce website with WordPress is configuring your store settings so your website functions properly.
Go to WooCommerce → Settings in the WordPress dashboard. In the General section, enter your store address, choose the currency for transactions, and select measurement units for products.
You can also configure customer account settings, enable guest checkout if needed, and adjust default store behavior. These settings ensure that your store processes orders correctly and provides a smooth checkout experience for customers.
Step 6: Install and Customize the Ecommerce WordPress Theme

Design plays an important role in how customers interact with your website. To create the store layout, you will install a theme.
For this guide, we will use the Ecommerce WordPress Theme.
To install the theme, go to Appearance → Themes → Add New → Upload Theme in the WordPress dashboard. Upload the theme file, click Install, and activate it.

After activation, open Appearance → Customize to modify your website’s appearance. From here you can upload your logo, change colors and fonts, configure the homepage layout, and set up navigation menus. Customizing the theme allows you to design a professional storefront for your ecommerce business
Step 7: Configure WooCommerce Store Settings
After installing WooCommerce, the next step to build a ecommerce website with wordpress is configuring your store settings so your website functions properly.
Go to WooCommerce → Settings in the WordPress dashboard. In the General section, enter your store address, choose the currency for transactions, and select measurement units for products.
You can also configure customer account settings, enable guest checkout if needed, and adjust default store behavior. These settings ensure that your store processes orders correctly and provides a smooth checkout experience for customers.
Step 8: Add WooCommerce Extensions for Advanced Features
Once the basic design and store functionality are ready, you can add WooCommerce extensions to expand your website’s capabilities.
Extensions allow you to integrate advanced features such as marketing tools, additional payment gateways, shipping calculators, analytics, and product filtering options. To install them, go to Plugins → Add New in the WordPress dashboard and search for the extension you want.
Many online stores install extensions for discount campaigns, automated emails, or subscription products. These tools improve how your ecommerce website operates and help manage orders more efficiently.
Step 9: Create Essential Pages for Your Website
The next step to build a ecommerce website with WordPress is creating the important pages that provide information about your business.
Go to Pages → Add New in the WordPress dashboard and create pages such as:

- Home
- Shop
- About Us
- Contact
- Privacy Policy
- Return and Shipping Policy
After creating these pages, add them to your website navigation by going to Appearance → Menus. This helps visitors easily move through your website and find important information about your store.
Step 10: Add Products and Organize Product Categories
Now you can start adding products to your ecommerce store. Go to Products → Add New in the WordPress dashboard.

Enter the product title, description, price, and product images. WooCommerce also allows you to configure product variations such as size, color, or style. You can also manage inventory levels and shipping details for each product.
Organize your products into categories so customers can browse items easily. Well-structured product pages improve the shopping experience and help visitors find the items they want quickly.
Step 11: Configure Payment Methods for Your Store
To successfully build a ecommerce website with WordPress, you must enable payment methods so customers can complete purchases.

Go to WooCommerce → Settings → Payments in the dashboard. From here you can enable different payment gateways supported by WooCommerce.
Configure payment options such as credit cards, debit cards, or digital payment services. Each payment gateway may require connecting your store to a merchant account and verifying your business details. After setup, test the payment method to ensure transactions process correctly.
Step 12: Configure Tax Settings for Your Products
Taxes are an important part of running an ecommerce store. WooCommerce allows you to manage tax calculations based on the customer’s location.
Go to WooCommerce → Settings → Tax in the dashboard. Here you can enable tax calculations and define tax rates for different countries or regions. You can also choose whether product prices include tax or if taxes are added during checkout.
Configuring tax settings correctly ensures that your store calculates charges accurately and complies with local regulations.
Step 13: Set Up Shipping Zones and Delivery Options

Shipping settings determine how products will be delivered to customers. To configure shipping, go to WooCommerce → Settings → Shipping.
Create shipping zones based on different locations such as countries, states, or regions. For each zone, you can define shipping methods like flat-rate shipping, free shipping, or location-based rates.
You can also adjust delivery rules depending on order value, weight, or destination. Clear shipping settings help customers understand delivery costs before completing their purchase.
Step 14: Install Important Plugins for Security and SEO
When building an ecommerce website with WordPress, website speed and performance are crucial for user experience and SEO. One of the most effective tools for this is the W3 Total Cache plugin, which optimizes caching, reduces load times, and improves overall website performance.

To install it, go to Plugins → Add New in your WordPress dashboard, search for W3 Total Cache, click Install, and then Activate. Once activated, go to Performance → General Settings to configure caching options. You can enable Page Cache, Browser Cache, and Object Cache to significantly improve your store’s loading speed.
Faster websites not only enhance the shopping experience but also help improve search engine rankings and reduce bounce rates. Regularly checking cache settings and clearing caches when updating content ensures your store always performs optimally.
Step 15: Test Your Store and Checkout Process
Before launching your ecommerce website, it is important to test every part of the store to ensure it works properly.
Check product pages, navigation menus, payment methods, and shipping settings. You should also place a test order to confirm that checkout works correctly and order confirmation emails are sent to customers.
Testing your website helps identify and fix any issues before real customers start using your store.
Step 16: Launch and Promote Your Ecommerce Website
The final step to build a ecommerce website with WordPress is launching your store and promoting it to attract customers.
Once testing is complete, make your website publicly accessible. After launch, promote your store using search engine optimization, social media marketing, email campaigns, and online advertising.
Regularly updating your product catalog, publishing helpful content, and monitoring store performance will help your ecommerce website grow and reach more customers over time.
Conclusion
Creating an online store may seem challenging at first, but following the right process makes it much more manageable. From choosing a domain name and hosting to installing best WooCommerce themes , adding products, and configuring payments, each step plays an important role in building a fully functional ecommerce website. Proper planning, a well-designed theme, and the right plugins can greatly improve the performance and usability of your store. Once everything is set up and tested, you can launch your website and start reaching customers online.
Learning how to build a ecommerce website with WordPress gives you full control over your store while allowing you to expand features and grow your business over time. With the right strategy and regular updates, your ecommerce website can become a powerful platform for selling products and building your brand online.
Frequently Asked Questions (FAQs)
1. Do I need coding knowledge to create an ecommerce website with WordPress?
No, coding knowledge is not required. WordPress provides an easy-to-use dashboard where you can manage pages, products, and settings. With plugins like WooCommerce and ready-made themes, most features can be set up using simple configuration options.
2. How much does it cost to start an ecommerce website on WordPress?
The cost depends on the tools and services you choose. Basic expenses usually include a domain name, hosting plan, and a theme. Additional costs may include premium plugins, payment gateway fees, or advanced marketing tools.
3. Can I sell different types of products on a WordPress ecommerce website?
Yes, WooCommerce allows you to sell physical products, digital downloads, subscriptions, and even services. You can also create product variations such as different sizes, colors, or pricing options.
4. How do customers make payments on an ecommerce website?
Payments are handled through integrated payment gateways. Store owners can enable options such as credit cards, debit cards, and digital payment services through the WooCommerce payment settings.
5. How do I promote my ecommerce website after launching it?
You can promote your website using search engine optimization, social media marketing, email campaigns, and online advertisements. Creating helpful content and offering promotions can also help attract more visitors to your store.