Step by Step Guide to Create a Travel Agency Website on WordPress
Want to create a travel agency website that stands out? WordPress makes it possible. It is one of the most powerful platforms available today. Even beginners can use it with ease.
A well-designed website is essential for any travel business. It helps you attract new clients. It also builds trust with your audience. With the right setup, your site can work as a 24/7 booking engine.
This guide will walk you through everything step by step. You will learn how to create travel agency website from scratch using WordPress and high-quality Premium WordPress Templates. Each step is simple and beginner-friendly.
From choosing a domain name to installing plugins, we cover it all. You will also learn how to showcase your travel packages. Adding booking features has never been easier. By the end of this guide, you will have a fully functional website. It will look professional and perform well. Let's get started and create travel agency website that grows your business.
Step-by-Step Guide on How to Create a Travel Agency Website
Here’s a high-level step-by-step journey to create a travel agency website with ease.
Step 1: Planning your Travel Agency Website
Planning is the first step to creating a travel agency website successfully. A solid plan saves time. It also helps you build a site that meets your goals.
Define Your Travel Niche :
Start by choosing your niche. Will you focus on luxury tours? Do you prefer adventure travel? Maybe local trips are your speciality. Picking a niche makes your brand stronger. It also helps you stand out from competitors. A clear niche attracts the right clients.
Identify Your Target Audience :
Know who you are building the site for. Are your clients young backpackers? Are they families looking for vacation deals? Perhaps they are business travellers. Understanding your audience is key. It shapes your content, design, and tone. Every decision should speak to your ideal customer.
Decide Your Site Goals :
Be clear about what your site should do. Do you want to generate leads? Are you focused on direct bookings? Maybe you just want inquiries for now. Setting goals early is important. It guides how you create travel agency website that actually performs. Each page should serve a purpose.
Prepare Content in Advance :
Do not wait until the site is built to gather content. Collect high-quality images early. Write destination details ahead of time. Have your travel packages ready to publish. Good content makes your site look professional. It also improves your search engine rankings.
Step 2: Purchase Domain Name and Hosting Setup
This step is essential to create a travel agency website the right way. A good domain and hosting setup builds a strong foundation. It keeps your site fast, secure, and reliable.
Your domain name matters. It is the first thing visitors see. Keep it short and simple. Make it easy to spell and remember. Include travel-related words if possible. Words like "tours," "travel," or "trips" work well. Avoid numbers and hyphens. Choose a ".com" extension whenever possible. A great domain name builds instant trust.
Selecting Reliable Hosting for Fast Loading:

Hosting affects your site speed. A slow site drives visitors away. Choose a hosting provider with a strong reputation. Look for fast loading times and high uptime. Good uptime means your site stays online. Bluehost, SiteGround, and Hostinger are popular options. Pick a plan that fits your budget. Reliable hosting is a must to create travel agency website that performs well.
Installing WordPress via Hosting Dashboard:
WordPress is the best CMS platform for travel sites. It is flexible, beginner-friendly, and powerful. Most hosting providers make installation easy. Log in to your hosting dashboard first. Look for the "One-Click Install" option. Select WordPress and follow the prompts. The setup takes only a few minutes. Your WordPress site will be ready quickly. It is the smartest way to create travel agency website without coding.
Basic Security and Backup Essentials:
Security should never be ignored. Protect your site from day one. Install a trusted security plugin like Wordfence. Use a strong and unique password. Enable two-factor authentication for extra safety. Set up automatic backups as well. Backups protect your data if something goes wrong. Use plugins like UpdraftPlus for easy backups. A secure site builds confidence with your visitors.
Step 3: Install a Travel Agency WordPress Theme
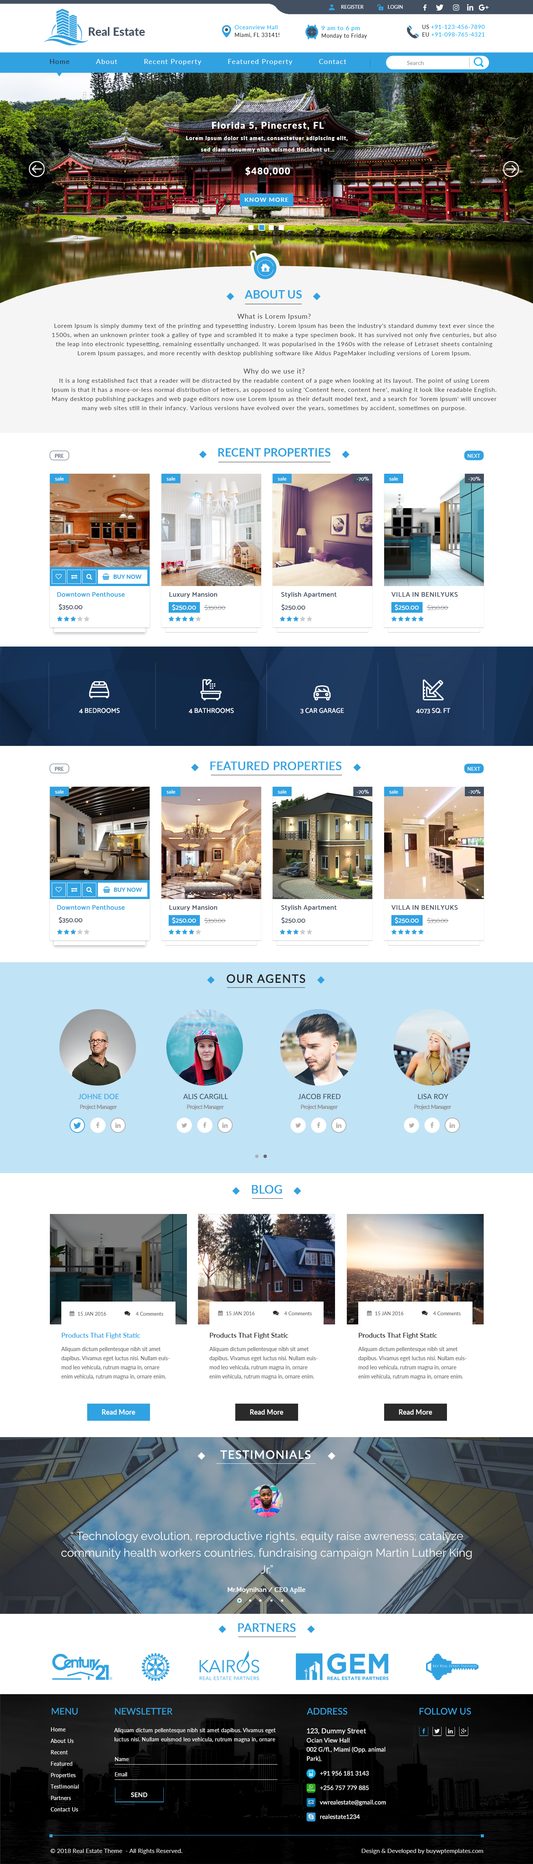
Choosing the right theme is important. It helps you create travel agency website that looks professional. The Travel WordPress Template from Buywptemplates is a great choice. It is designed specifically for travel businesses. It is clean, modern, and easy to customize.

Live Demo Buy Now
Downloading and Uploading the Theme :
- Start by downloading the theme file.
- Visit the Buywptemplates website first.
- Purchase and download the Travel WordPress Template.
- The file will be in a ZIP format.
- Do not extract the file.
- Go to your WordPress dashboard next.
- Click on "Appearance" in the left menu. Then select "Themes." Click the "Add New" button at the top.
- Choose "Upload Theme" and select your ZIP file.
- Click "Install Now" to begin the upload. The process is quick and simple.
Theme Activation Process :
Once uploaded, you need to activate the theme. Go to "Appearance" and then "Themes." Find the Buywptemplates theme in the list. Click the "Activate" button. Your theme is now live on your site. Activation is a key step to creating a travel agency website with the right design. It takes only a few seconds.

Step 4 : Importing Demo Content

Demo content makes setup faster. It gives your site a ready-made structure. Check if the Buywptemplates theme offers demo content. Most premium themes include this feature. Go to the theme settings panel. Look for the "Demo Import" option. Click "Import" and wait for the process to finish. Your site will now look like the theme demo. It is a great starting point for customization.
Take time to explore the Travel Agency theme. Visit your website after activation. See how the layout looks on the front end. Then go back to the dashboard. Open the theme settings or customizer. Look at all available options carefully. You can adjust colors, fonts, and layouts. Explore every setting before making changes. Understanding the theme helps you create travel agency website that truly reflects your brand.
Step 4: Customising the Travel WordPress Theme
Customization makes your site unique. It helps you create travel agency website that reflects your brand. The Travel WordPress template offers plenty of options. Take time to personalize every detail. A well-customized site leaves a lasting impression.
Updating Logo, Colors, and Typography
Your logo is your brand identity. Upload a professional logo first. Go to "Appearance" and then "Customize." Find the logo upload section. Add your logo and save the changes. Next, choose your brand colors. Pick colors that match the travel industry. Blues, greens, and warm tones work well. Update the typography as well. Choose fonts that are clean and easy to read. Consistent colors and fonts make your site look polished and professional.
Customizing Header and Navigation Menus
Your header is the first thing visitors notice. Keep it clean and simple. Add your logo to the top left. Include your contact number or email in the header. Make it easy for visitors to reach you quickly. Set up your navigation menu next. Go to "Appearance" and then "Menus." Add your key pages to the menu. These include Home, Tours, About Us, and Contact. Arrange them in a logical order. A clear navigation menu helps visitors find information fast.
Setting Up Homepage Sections

Your homepage should impress visitors instantly. Set up key sections to create a travel agency website that engages users. Add a "Popular Tours" section to showcase top packages. Include a testimonials section for social proof. Display special offers and deals prominently. Use the theme's built-in section editor for this. Arrange sections in a logical and attractive order. Each section should have a clear heading. Add a CTA button to every key section. A well-structured homepage keeps visitors exploring your site longer.
Adding High-Quality Travel Images
Images bring your travel site to life. Use high-resolution photos throughout your site. Choose images that inspire wanderlust. Features stunning landscapes and popular destinations. Add photos to every tour package page. Use images on the homepage hero banner. Avoid blurry or low-quality pictures at all times. You can source free images from Unsplash or Pexels. Premium images from Shutterstock are also a great option. Great visuals make visitors want to book immediately.
Adjusting Layout for Mobile Responsiveness
Most travelers browse on their phones. Your site must look great on all devices. Open the WordPress Customizer to check the layout. Switch to the mobile preview mode. Look for any elements that appear broken. Adjust font sizes for smaller screens. Make sure buttons are large enough to tap. Check that images resize correctly on mobile. Test the navigation menu on a smartphone.
Step 5: Creating Tour Package Listings
Tour package listings are the core of your site. They help you create a travel agency website that attracts and converts visitors. A well-structured listing builds excitement. It also gives travelers all the information they need. Every listing should be clear, detailed, and visually appealing.
How to Structure Package Details
A good structure makes listings easy to read. Start with a strong and catchy package title. Add a brief and engaging description below it. Highlight the key features of the tour. Use short sentences to explain each detail. Add a high-quality image at the top of the listing. Include a clear destination name and location. Mention the type of tour it is. Is it an adventure tour or a luxury trip? A well-structured listing helps visitors make quick decisions.
Adding Itinerary, Pricing, Duration, and Inclusions
Travelers want all details upfront. Be transparent with your information. Add a day-by-day itinerary for each package. Keep each day's description short and clear. Mention the duration of the tour prominently. Display the pricing in a visible location. Avoid hiding costs or extra charges. List all inclusions clearly in the package. These may include meals, accommodation, and transport. Also mention what is not included in the package.
Using Attractive Call-to-Action Buttons
A CTA button tells visitors what to do next. Every package listing needs one. Use action words on your buttons. Phrases like "Book Now," "Check Availability," or "Get a Quote" work well. Make the button color bold and eye-catching. Place the CTA button at the top of the listing. Add another one at the bottom as well. This ensures visitors always see a booking option. Keep the button size large enough to tap on mobile. A strong CTA button increases your booking rate significantly.
Highlighting Special Deals or Seasonal Offers
Special deals attract more visitors. They also encourage faster booking decisions. Create a dedicated section for offers on each listing. Use labels like "Limited Time Deal" or "Early Bird Offer." Add a countdown timer for urgency if possible. Highlight the discounted price clearly. Show the original price with a strikethrough. Mention the validity period of the offer. Feature seasonal packages for holidays and peak travel times. Promote these deals on your homepage as well.
Step 6: Setting Up Online Booking or Inquiry System
A booking system is a game changer. It helps you create a travel agency website that works around the clock. Visitors can book or inquire at any time. You do not need to be online to receive requests. A smooth booking system improves customer experience greatly.
Forms vs Full Booking Systems
You have two main options to choose from. The first option is a simple inquiry form. The second option is a full booking system. An inquiry form is easier to set up. It collects basic details from interested travellers. Plugins like WPForms or Gravity Forms work well for this. A full booking system is more advanced. It allows real-time availability checks. It also manages reservations automatically. Plugins like WP Travel Engine or Booked are great choices. Small agencies can start with a simple form. Larger agencies may need a full booking system. Choose the option that fits your business size and goals.
Adding Payment Gateways
Accepting online payments makes booking easier. It also speeds up the confirmation process. You can add payment gateways to your site. PayPal is one of the most popular options.
Automating Confirmation Emails
Confirmation emails build trust instantly. They reassure customers that their booking was received. Set up automated emails through your booking plugin. Most plugins have a built-in email notification feature. Write a clear and friendly confirmation message. Include the booking details in the email. Mention the tour name, dates, and total price. Add your agency's contact information as well. Use a plugin like FluentCRM or Mailchimp for advanced email automation.
Collecting Customer Details Effectively
Collecting the right details is very important. It helps you serve customers better. Ask for only the necessary information in your forms. Include fields for full name and email address. Add a phone number field for quick communication. Ask for preferred travel dates and destination. Include a field for the number of travellers as well. Add a message box for special requests or questions. Keep the form short and easy to fill out. A long form discourages visitors from completing it.
Step 7: Install a Yoast SEO Plugin

- Log in to your WordPress dashboard.
- Navigate to Plugins on the left-hand menu and click Add New.
- Use the search bar to find the plugin you want to install. You can search by name (e.g., "Yoast SEO") or by feature.
- Once you find the plugin, click the Install Now button.
- After the plugin is installed, the button will change to Activate. Click it to enable the plugin on your site.
Step 8: Launch Checklist before going live Website

Launching your site is an exciting moment. But rushing can cause problems. A proper checklist helps you create a travel agency website that is ready for visitors. Check every detail before hitting the publish button. A smooth launch builds a strong first impression.
Always preview your site before launching.
- Look at every page carefully.
- Check that all content is complete and accurate.
- Make sure there are no spelling or grammar errors.
- Verify that all images are displaying correctly.
- Confirm that your logo appears in the right place.
- Check the header and footer on every page.
- Make sure your contact details are correct.
- Review all tour package listings one more time.
- Ensure that your CTAs are visible and working.
- A thorough final preview saves you from embarrassing mistakes after launch.
When you are happy with the website creation after analysing it well, its time to hit the launch button and make it live.
Conclusion
Building a travel website is now easier than ever. WordPress gives you all the tools you need. You do not need coding skills or technical experience. Anyone can create a travel agency website with the right guidance. This step-by-step guide has covered everything about how to create Travel Agency Website from start to finish.
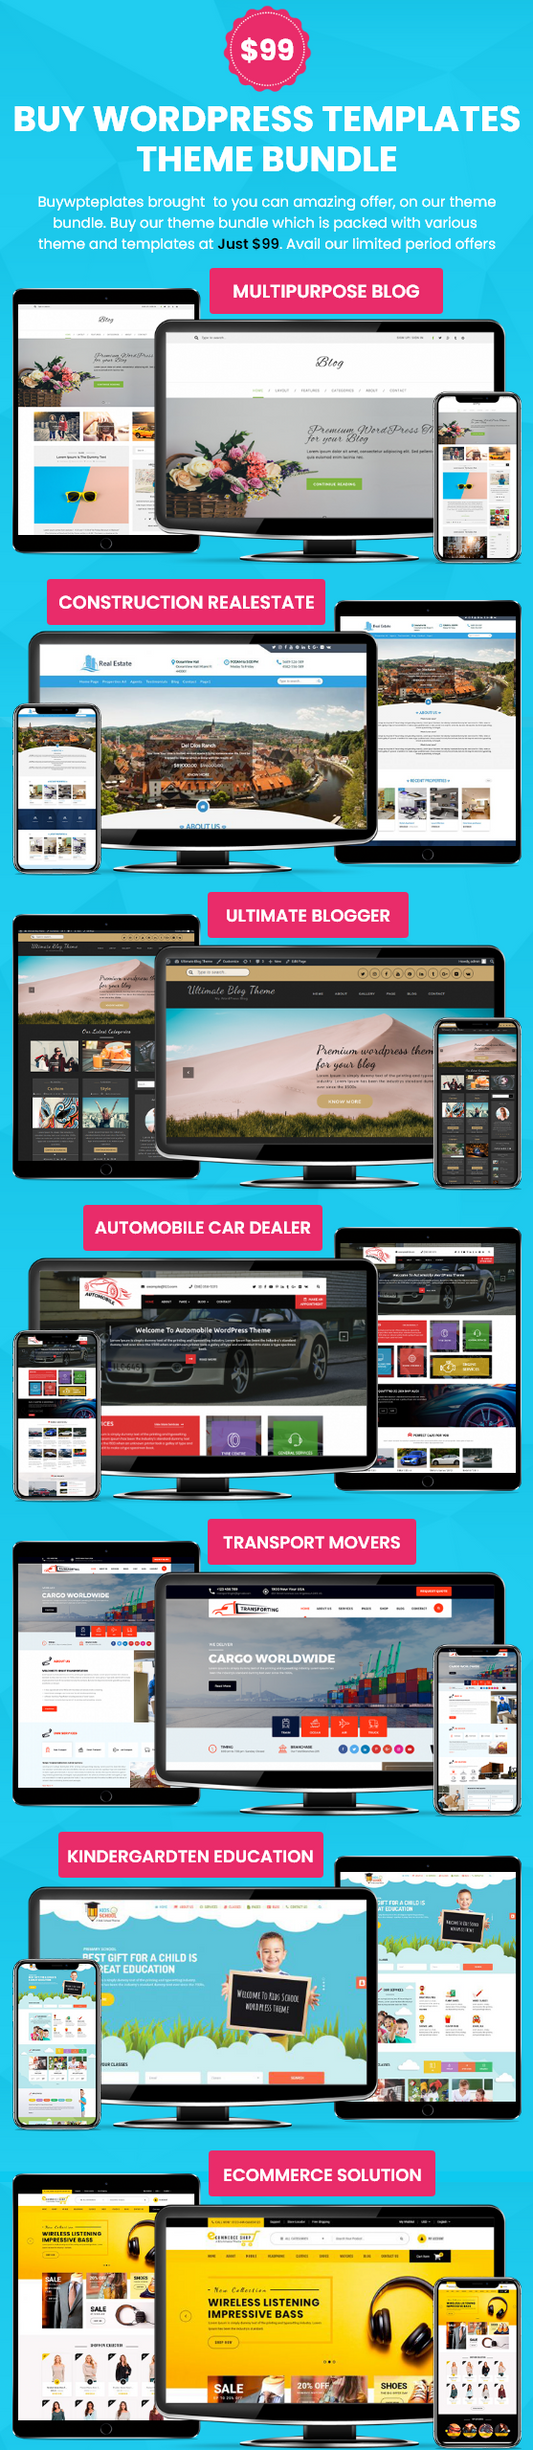
Now is the perfect time to take action. Use everything you have learned and choose a reliable WP theme bundle to speed up your design process. These bundles offer multiple ready-made layouts, booking integrations, and customization options tailored for travel businesses. Instead of starting from scratch, you can launch faster with a complete design system in place.
Take it one step at a time. Stay consistent and keep improving your site. Success will follow with dedication and hard work. Go ahead and create travel agency website that takes your travel business to new heights.
Frequently Asked Questions (FAQs)
1. Do I need coding skills to create a travel agency website on WordPress?
No coding skills are needed at all. WordPress is beginner-friendly and easy to use. You can build a fully functional site without writing a single line of code. Premium Themes and plugins do most of the work for you. Anyone can create a travel agency website on WordPress with the right guidance.
2. Can I add an online booking system to my travel agency website?
Yes, you can absolutely add a booking system. WordPress offers many booking plugins to choose from. You can also use simple inquiry forms for smaller agencies. Adding a payment gateway like PayPal or Stripe is also possible. A booking system makes your site more functional and professional.
3. How do I make my travel agency website rank on Google?
SEO is the key to ranking on Google. Install an SEO plugin like Yoast SEO or Rank Math. Add focus keywords to every page and post. Write clear and compelling meta titles and descriptions. Submit your XML sitemap to Google Search Console. Publish helpful blog posts regularly to attract organic traffic. Good SEO helps your site get discovered by more travellers.
4. Can I update my travel agency website on my own after launching?
Yes, updating your site is very easy on WordPress. You can add new tour packages whenever you want. Update existing content and images with just a few clicks. Publish new blog posts to keep your site fresh. Install plugin and theme updates regularly for security. WordPress gives you full control over your site at all times.