Create an LMS Website using an Education WordPress Theme
Online learning is booming, and educational institutions, trainers, and businesses increasingly need efficient platforms to deliver courses. Creating an LMS website is one of the most effective ways to manage and scale online education. An LMS, or Learning Management System, enables instructors to create, manage, and deliver content while allowing students to enroll, track progress, complete assignments, and earn certificates all in one place. From professional training programs to personal development courses, an LMS website streamlines administration, boosts engagement, and connects you to a global audience.
This guide will walk you step-by-step through creating an LMS website using WordPress, from hosting setup to launch. By leveraging premium WordPress templates you can design a visually appealing, responsive, and high-performing platform. Whether you’re new to online learning or expanding your reach, these practical steps will help you build a robust, user-friendly LMS that offers a professional and engaging experience for learners.
What is an LMS Website
An LMS (Learning Management System) website is a platform designed to host and deliver online courses efficiently while maintaining smooth performance. Since user experience and accessibility are key, speeding up a WordPress website that powers your LMS becomes essential to ensure quick loading times and uninterrupted learning sessions.
For businesses, it’s ideal for employee training or certification programs, while educators can reach students globally without delays. Modern LMS websites also integrate features like quizzes, discussion forums, certificates, multimedia lessons, and progress tracking, creating a fast, engaging, and interactive learning environment for all users.
Key features of an LMS website:
-
Centralized course management for easy updates.
-
An enrollment system with user registration and profile management.
-
Multimedia support: videos, PDFs, and interactive content.
-
Quizzes, assignments, and certificates to track progress.
-
Secure and scalable platform to handle multiple users.
-
Discussion forums or chat for student interaction.
Understanding these fundamentals is essential before you start. Learning how to create an LMS website ensures you can build an organized, interactive, and professional learning platform.
Step-by-Step Guide to Create an LMS Website
If you want to build a professional, user-friendly Learning Management System (LMS) website, whether for a school, training business, or solo course creator, following a clear step-by-step process makes the project far less overwhelming. An LMS site brings together course creation, student management, quizzes, payments, and progress tracking, so it helps to plan the tech stack, content, and user flows beforehand. Below is a concise introductory paragraph you can use, followed by a smooth transition into the step-by-step checklist.
Step 1: Pick the Right Hosting and Domain for Your LMS

The first and most important step to create an LMS website is selecting a reliable hosting provider and a professional domain name. Your hosting determines website speed, uptime, and security, which are crucial for delivering a smooth online learning experience. A slow or unreliable host can frustrate learners and damage your reputation. Popular WordPress-optimized hosting providers like Bluehost, SiteGround, and WP Engine are ideal for LMS platforms because they offer strong performance, security features, and responsive customer support. Equally important is choosing a memorable domain name that represents your brand or course offerings.
Tips for hosting and domain setup:
-
Pick WordPress-optimized hosting for better performance.
-
Ensure enough storage and bandwidth for course materials.
-
Enable SSL certificates to secure user data.
-
Choose a short, easy-to-remember domain name.
-
Consider scalability for future course growth.
-
Check backup options and support reliability.
Choosing the right hosting and domain lays a strong foundation to successfully create an LMS website that is secure, reliable, and professional.
Step 2: Set Up WordPress for Your Online Courses

After securing hosting and a domain, the next step to create an LMS website is installing WordPress. WordPress is flexible, beginner-friendly, and fully compatible with LMS plugins that handle courses, quizzes, and student management. Most hosting providers offer one-click installation, making it fast and easy to get started. Once installed, you’ll access the WordPress dashboard, which lets you manage pages, posts, themes, and plugins for your LMS platform.
Steps to install WordPress:
-
Access your hosting control panel (cPanel) or dashboard.
-
Run the WordPress installer and follow the prompts.
-
Set a secure admin username and strong password.
-
Configure basic settings such as site title and language.
-
Install essential security plugins to protect your site.
-
Familiarize yourself with the WordPress dashboard.
Test login and site access for proper installation.
With WordPress as your foundation, you can create a scalable, secure, and fully functional LMS website. Proper setup ensures your online courses are easy to manage and accessible to learners.
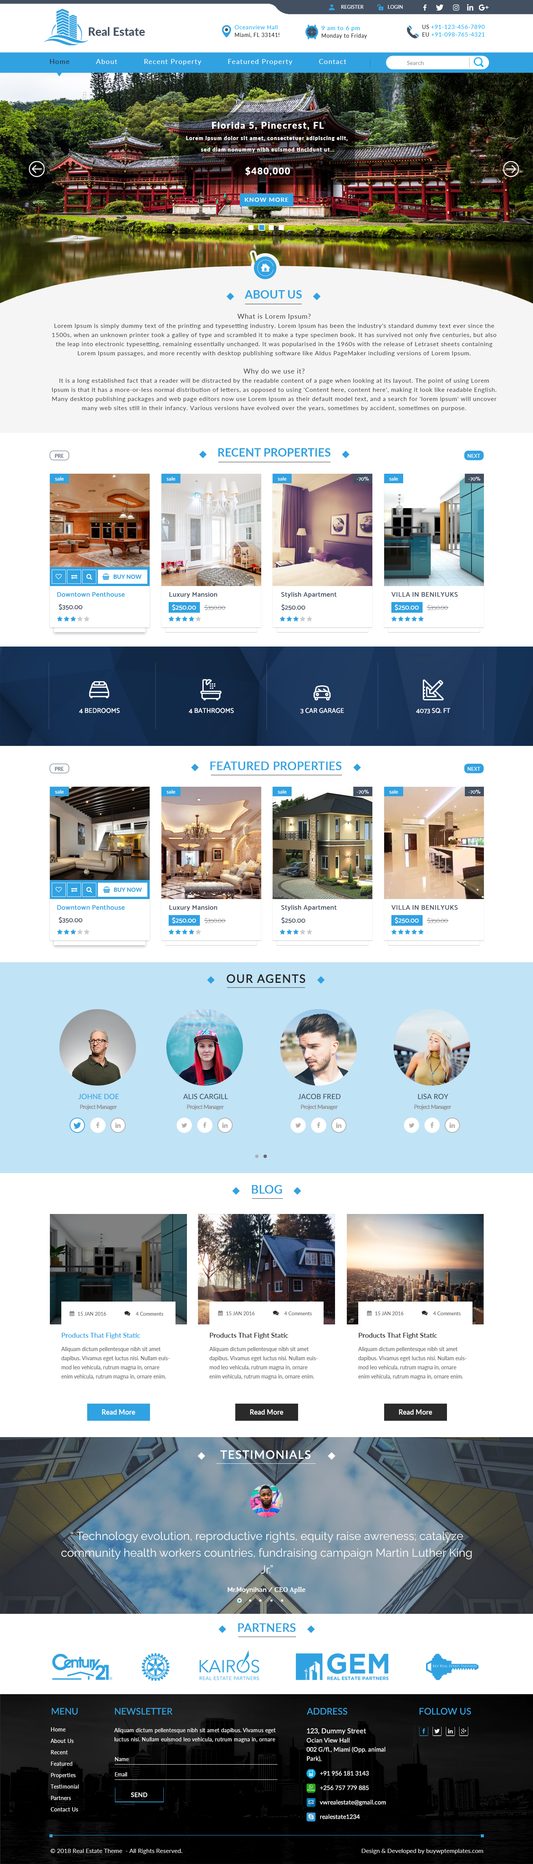
Step 3: Choose a Professional LMS WordPress Theme

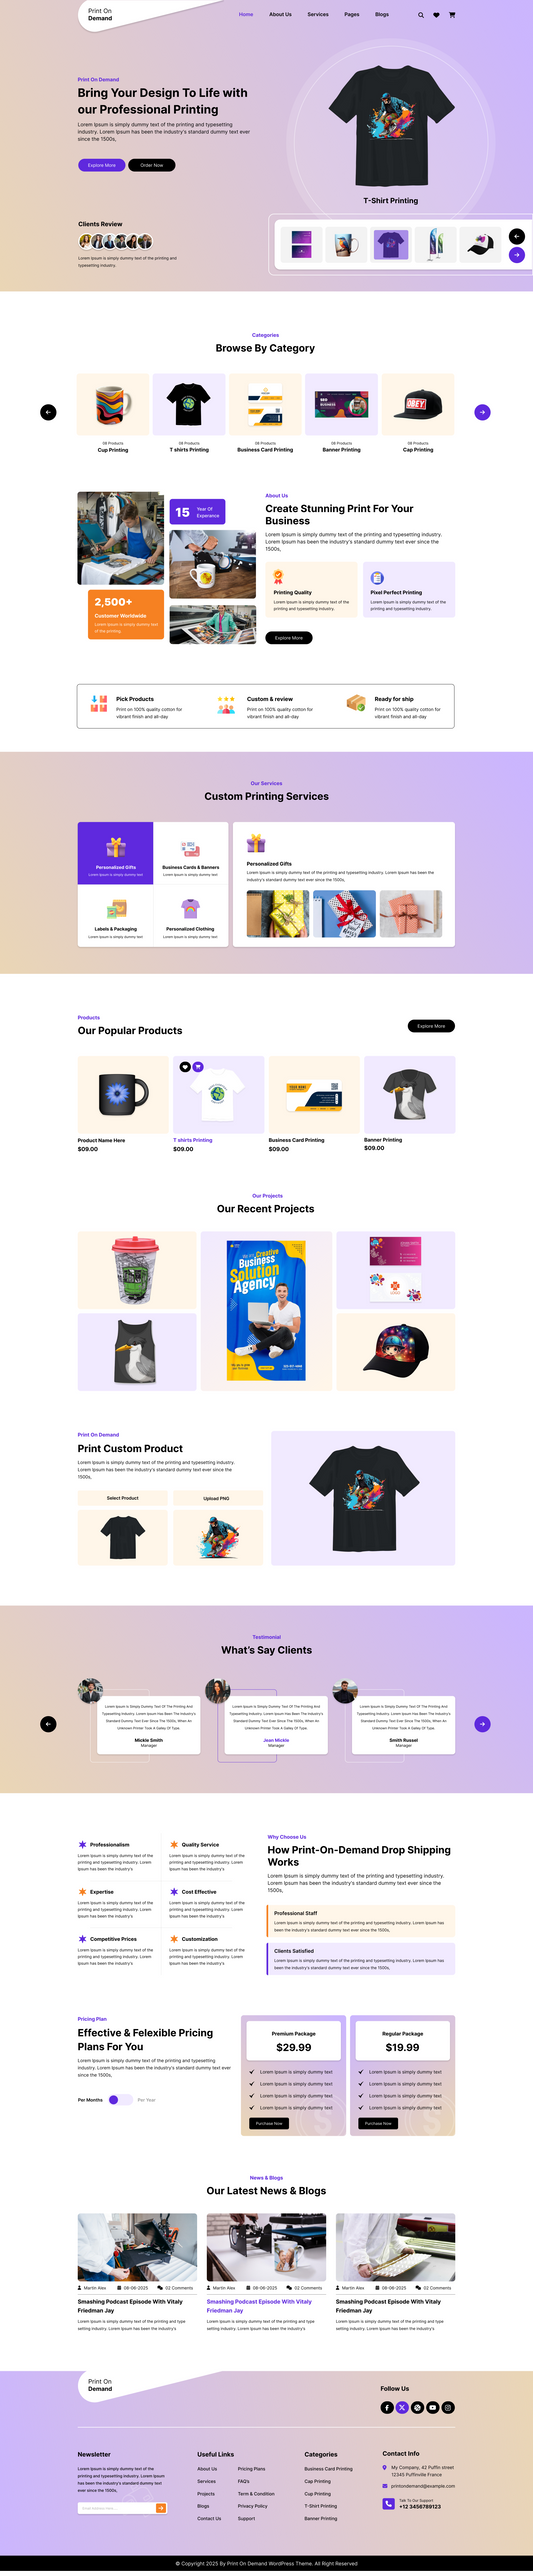
Selecting the right theme is essential for creating an LMS website that’s both visually appealing and easy to navigate. A professional LMS WordPress theme ensures your courses look polished, students can access content effortlessly, and your platform operates smoothly. One excellent option is the Coaching WordPress Template from BuyWPTemplates, designed specifically for online learning, coaching programs, and educational platforms. It features pre-built course layouts, a responsive design, and full compatibility with popular LMS plugins like LearnDash and Tutor LMS. You can even enhance your platform’s earning potential by integrating affiliate plugins into WordPress making it easier to monetize courses and expand your reach efficiently.
Key Features of Coaching WordPress Template
-
Multiple layout options (boxed, full-width, full-screen)
-
Customizable header and footer
-
Easy theme customizer (colors, fonts, backgrounds)
-
Social media integration
-
Fast and lightweight
-
Compatible with popular plugins
-
Translation ready
- Custom widgets for extra functionality
Choosing a theme carefully ensures your LMS website is professional, functional, and provides a seamless learning experience for students.
Step 4: Install and Activate the Theme and Demo Import

After selecting the ideal theme, the next step in creating an LMS website is installing and activating it. Most premium LMS themes include demo content that saves time and provides a professional layout for your courses, pages, and menus. Importing demo content gives you a visual framework to customize, ensuring a polished, ready-to-use site with minimal effort.
How to install and import theme demos:
- Upload your theme via the WordPress dashboard.
- Activate the theme to apply its design.
- Use the demo import feature to load pre-built pages, menus, and course layouts.
- Replace demo content with your own branding, images, and course details.
- Customize headers, footers, colors, and typography to match your brand identity.
- Enable landing page builder WordPress tools for easy drag-and-drop design adjustments.
- Check all demo pages for layout consistency.
By installing, activating, and importing demos, you establish a strong functional base that allows you to focus on course creation and customization. This step ensures your LMS website looks professional, user-friendly, and fully prepared for learners.
Step 5: Customize Other Website Content

Beyond courses, customizing your LMS website content ensures a professional and user-friendly experience. Well-organized pages guide learners, improve navigation, and provide essential information. This step is crucial to creating an LMS website that looks polished and functions efficiently.
Content customization tips:
-
Create About, Contact, and FAQ pages.
-
Add blog posts to share insights, updates, and course announcements.
-
Set up menus, banners, and call-to-action buttons for smooth navigation.
-
Include testimonials, reviews, or student feedback for credibility.
-
Maintain consistent branding with logos, color schemes, and fonts.
-
Regularly update announcements, events, or new course offerings.
-
Ensure all links, images, and media display correctly.
Thoughtful content customization ensures learners can easily find information, feel confident using your platform, and stay engaged. This step enhances both usability and professionalism of your LMS website.
Step 6: Install and Activate Tutor LMS Plugins

Installing and activating the Tutor LMS plugin on your WordPress website is a simple process that brings powerful eLearning functionality to your site. To get started, log in to your WordPress dashboard and navigate to Plugins → Add New. In the search bar, type Tutor LMS, then click Install Now next to the official Tutor LMS plugin developed by Themeum. Once the installation is complete, click Activate to enable it on your website. After activation, you’ll see a new Tutor LMS option added to your dashboard menu. From there, you can begin setting up your online courses, managing lessons, and customizing settings to suit your teaching goals. The plugin is beginner-friendly and integrates seamlessly with most WordPress themes.
Step 7: Customize Your Courses for Engagement

The heart of your LMS website is your courses. Customizing them effectively is key to creating an LMS website that engages and retains learners. Well-structured courses with clear modules, lessons, and assessments create a seamless learning experience. Tutor LMS plugins provide user-friendly interfaces for building content without coding knowledge.
Tips for customizing courses:
-
Organize courses into logical modules and lessons.
-
Add multimedia content: videos, PDFs, slides, and images.
-
Create quizzes and assignments to test understanding.
-
Offer downloadable resources and notes for offline learning.
-
Configure prerequisites or learning paths for structured progression.
-
Include certificates for course completion to motivate learners.
-
Set pricing if offering paid courses.
Thoughtful course customization ensures learners can easily navigate content, remain engaged, and achieve their learning goals. This step is essential to make your LMS website a professional and effective online education platform.
Step 8: Set Up Secure Payment Gateways

Monetization is essential if you plan to sell courses, making payment integration critical to create an LMS website. Payment gateways allow learners to purchase courses conveniently while ensuring secure financial transactions. Popular options include PayPal, Stripe, and WooCommerce, which integrate seamlessly with most LMS plugins.
Steps to set up payment gateways:
-
Enable SSL encryption for secure transactions.
-
Choose one or more payment gateways based on your audience.
-
Configure pricing models: one-time payments, subscriptions, or memberships.
-
Support multiple currencies if targeting international students.
-
Test transactions thoroughly to ensure smooth processing.
-
Provide clear instructions at checkout for users.
-
Set up notifications for completed payments and receipts.
A reliable payment system builds trust with learners and ensures your LMS website can generate revenue efficiently. Proper setup prevents errors and guarantees a smooth, secure purchasing experience.
Step 9: Test Your LMS Website and Launch ( GT Metrix)

Before going live, rigorous testing is essential to ensure a flawless user experience, marking the final step in creating your LMS website. Testing helps verify that every feature, course, and payment function works properly, providing learners with a seamless and engaging journey.
Testing checklist:
- Verify all course modules, lessons, quizzes, and multimedia content.
- Test registration forms, user login, and profile management.
- Confirm that payment gateways process correctly and securely.
- Check the best mobile website designs to ensure responsiveness and smooth functionality across all devices.
- Test navigation menus, links, and call-to-action buttons.
- Evaluate site speed and loading times.
- Enable security plugins and backup systems for protection.
Once testing is complete and any issues are resolved, your LMS website is ready to launch. Announce your platform through email campaigns, social media, or ads to attract learners. Thorough testing guarantees a professional, reliable, and fully functional LMS platform ready for success.
Conclusion
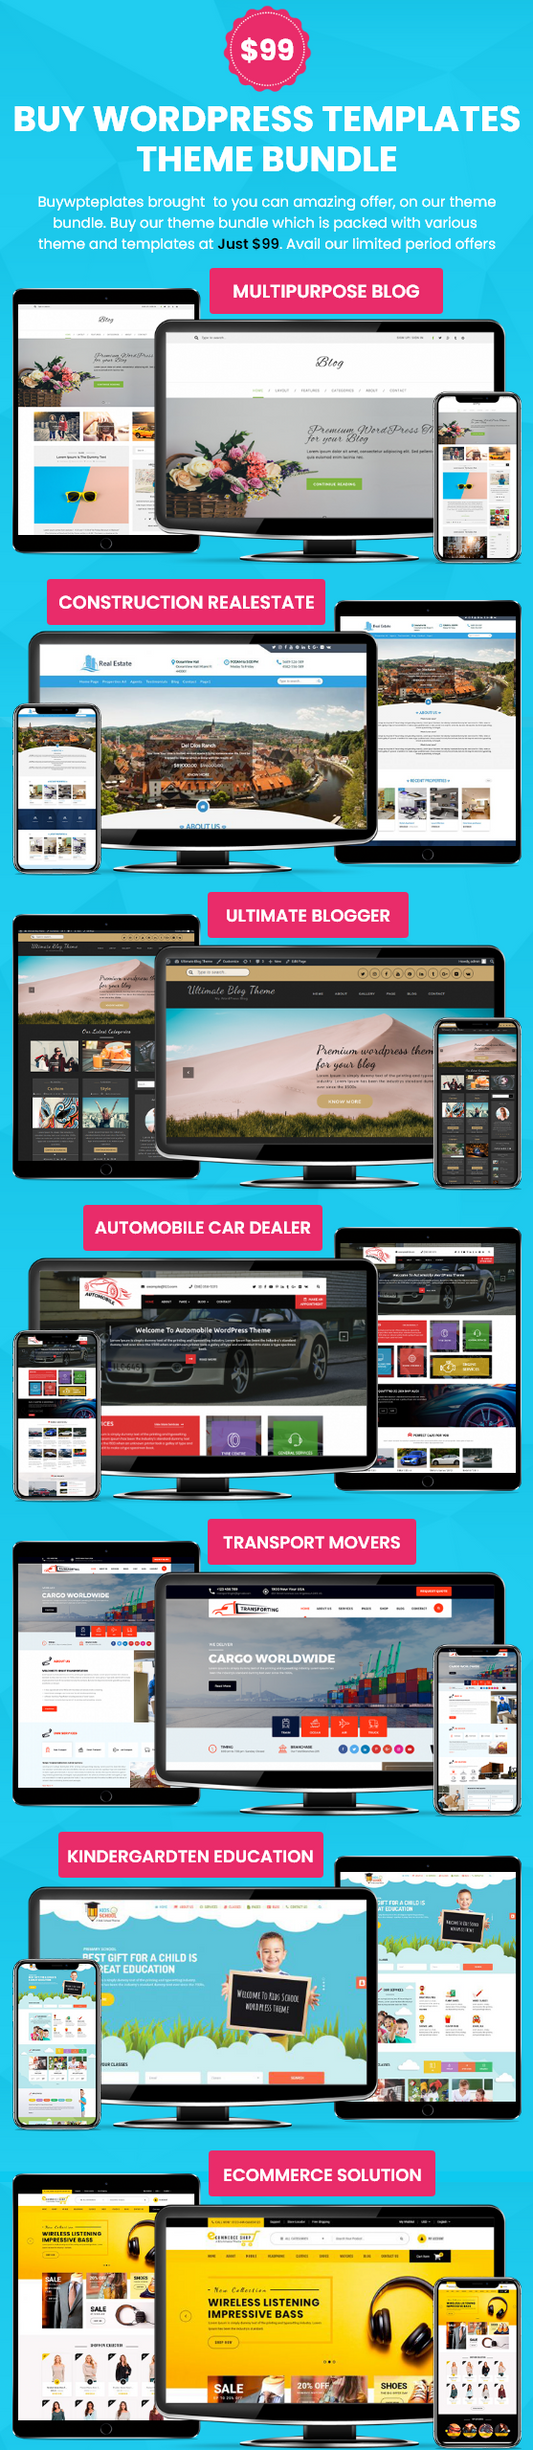
Creating an LMS website opens up endless possibilities for educators, trainers, and businesses to deliver professional online learning experiences. By following these step-by-step instructions, from selecting reliable hosting and a memorable domain to customizing courses, integrating secure payment gateways, and testing thoroughly can build an LMS website that’s both functional and visually impressive. Using a WP theme bundle can make this process even easier by giving you access to multiple professionally designed themes tailored for eLearning, education, and business platforms.
A well-designed LMS not only streamlines administrative work but also boosts learner engagement, tracks progress efficiently, and provides certifications to motivate students. Choosing the right themes, plugins, and course structures ensures your platform remains user-friendly, scalable, and ready for future growth.
Launching a polished, intuitive LMS website allows you to connect with a global audience, deliver valuable education or training, and generate revenue through paid courses. With thoughtful planning and the right tools, your platform can evolve into a trusted, engaging hub for online learning success.