How To Create Print on Demand Website on WordPress using Plugin
Creating a professional Print on Demand website might seem like a big task, but with the right premium WordPress templates it becomes much simpler than most people imagine. Whether you’re building a business site, personal blog, or online store, WordPress provides all the tools you need no coding experience required. The key lies in selecting and setting up a theme that matches your goals while giving your website a clean, modern, and professional look.
Many users feel stuck after installing WordPress, wondering why their site doesn’t look like the demo version. The secret is learning how to properly install, customize, and fine-tune your chosen theme. Once you grasp this process, designing a visually appealing and high-performing website becomes straightforward and even enjoyable.
In this guide, we’ll walk you through every step from choosing the right theme and installing it to customizing layouts, adding content, and optimizing performance. By the end, you’ll have a fully functional, fast-loading website that looks professional and works seamlessly across all devices.
Step-by-Step Guide to how to Create on Print-on-Demand Website
Starting a print-on-demand (POD) website is an excellent way to build a profitable eCommerce business without managing inventory or upfront production costs. With POD, you can design custom products like t-shirts, mugs, posters, or phone cases, and your supplier handles printing and shipping whenever a customer places an order. All you need is a creative idea, an online store, and the right setup to bring your products to life. Below is a step-by-step guide to creating a print-on-demand website, helping you launch your business efficiently and start selling your custom designs online.
Step 1: Plan & Validate Your POD Idea
Before you begin to create a Print on Demand website, investing time in planning will save effort later. Start by choosing a clear niche: apparel, home decor, pets, fitness, local pride, or fandom designs, and validate demand by checking social media trends, simple keyword searches, and competitor stores. Decide on your brand positioning (premium, eco, budget-friendly) and product range: will you sell shirts and mugs only, or expand to hoodies, wall art, and accessories? Prepare your branding assets (logo, color palette, fonts) and produce a small batch of sample designs to test market reaction. Also, outline pricing strategy and target margins so you know the minimum sale price per SKU. Planning reduces friction during setup, helps you choose the right suppliers, and sets realistic expectations for launch pace and marketing spend.
- Pick a niche and define a buyer persona.
- Research competitors and trending designs.
- Create 5–10 sample designs (PNG, 300 DPI).
- Decide product types and initial catalog size (10–30 SKUs).
- Set target profit margin (30–40% recommended).
- Prepare brand assets: logo, colors, fonts, tone of voice.
Step 2: Buy Domain & Choose Hosting

Purchasing a domain and reliable hosting forms the backbone of your store’s performance and credibility when creating a print-on-demand website. Choose a domain that’s short, memorable, and relevant to your niche. Registrars like Namecheap or your hosting provider make this easy. For hosting, opt for a managed WordPress host or a reputable shared plan offering fast SSD storage, PHP 8+ support, SSL (HTTPS), and strong uptime. Popular options include SiteGround, Bluehost, Hostinger, and Cloudways.
When setting up, consider your expected traffic. Beginners can start with shared hosting and scale later. Implement WordPress browser caching or server-side caching to improve load times and user experience. Don’t forget to activate your free SSL certificate for secure transactions. Fast, secure hosting paired with effective caching not only boosts SEO rankings but also enhances customer trust and conversion rates.
- Brainstorm domain names and check availability.
- Register a domain via Namecheap or your host.
- Choose hosting (managed WordPress or reputable shared).
- Ensure PHP 8+, MySQL/MariaDB latest, and SSL support.
- Enable one-click WordPress install and CDN option if available.
- Keep hosting credentials secure and note nameservers for DNS.
Step 3: Install & Configure WordPress

Once the hosting and domain are ready, installing and configuring WordPress is your next step to create a print-on-demand website. Use your host’s one-click installer, then log into the WordPress admin. Set basic site identity elements like site title, tagline, time zone, and preferred language. Change permalinks to a SEO-friendly structure (Post name). Remove default content (sample post/page) and create essential pages (Home, Shop placeholder, About, Contact). Install and configure basic plugins for security, backups, and performance, such as a security plugin (Wordfence/Sucuri), backup solution (UpdraftPlus), and caching or optimization plugin (WP Rocket, LiteSpeed, or WP-Optimize). Always set up an admin user with a strong password and enable two-factor authentication if possible for protection.
- Run a one-click WordPress install from the hosting panel.
- Log in (yourdomain.com/wp-admin) and set Site Title/Tagline.
- Go to Settings → Permalinks → select “Post name”.
- Delete sample content; create Home, Shop, About, Contact pages.
- Install security, backup, and caching plugins.
- Create an admin user with a strong password and enable 2FA.
Step 4: Choose & Configure a Print on Demand WordPress Theme

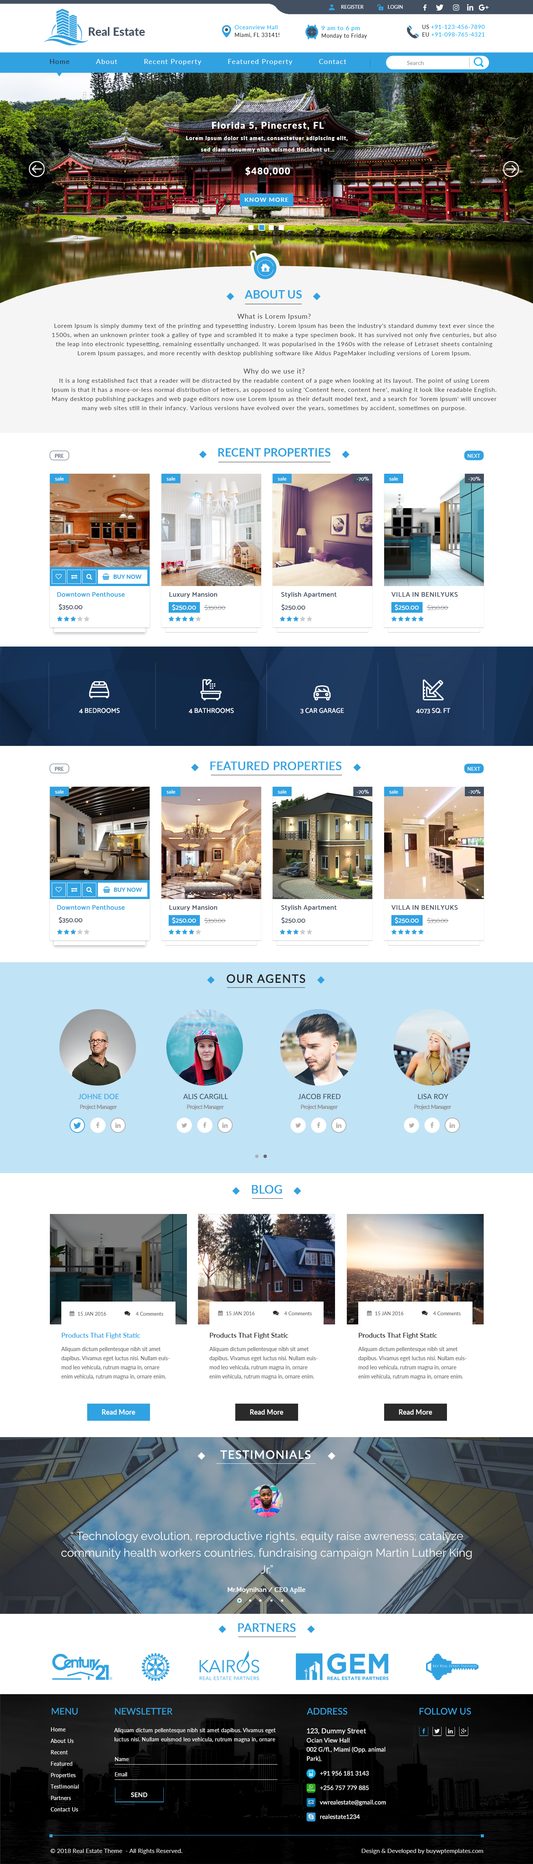
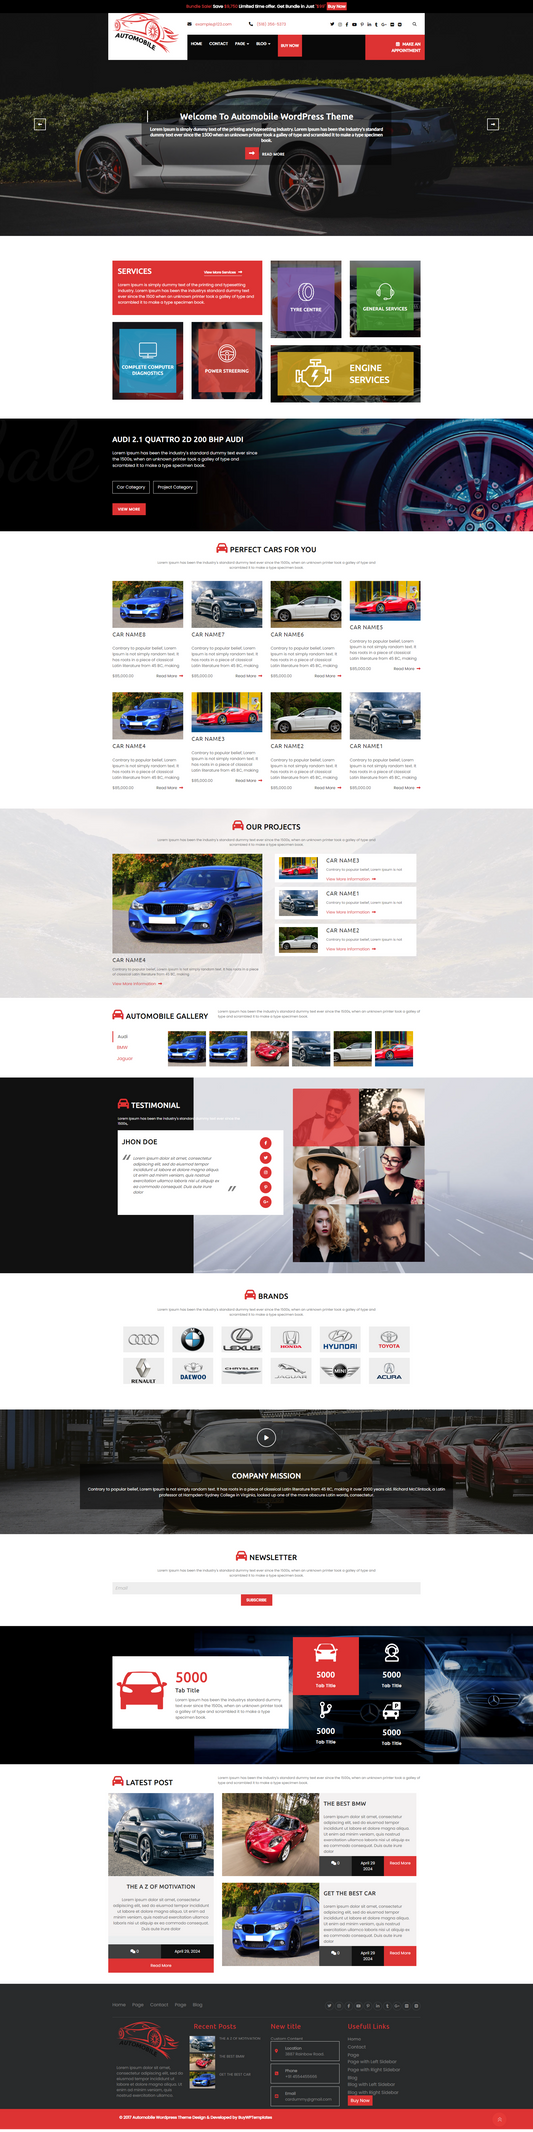
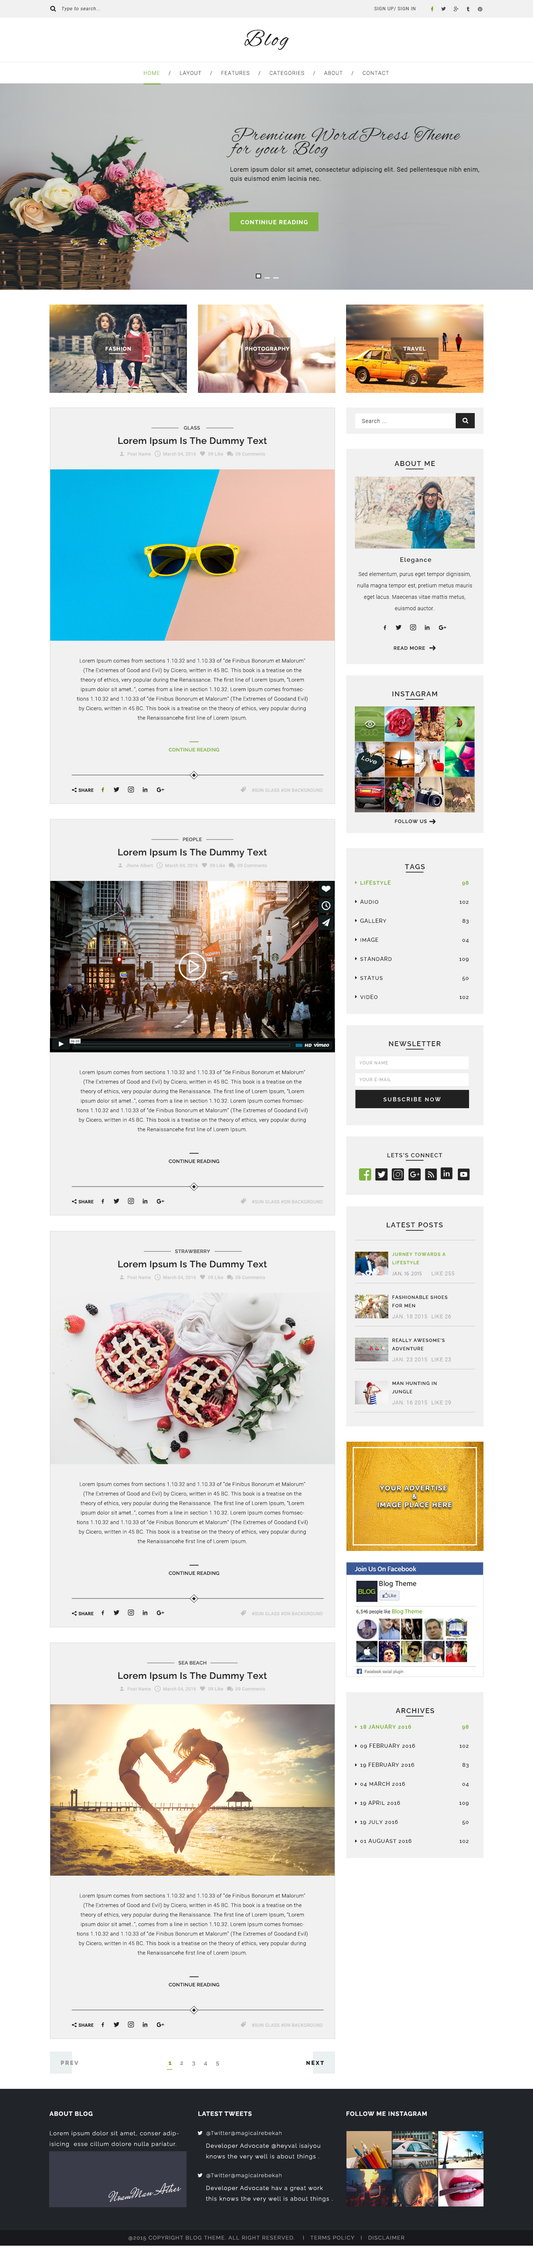
Selecting the right theme plays a crucial role in conversions, website speed, and ease of customization when building a Print on Demand website. Opt for responsive WordPress themes that are lightweight, WooCommerce-compatible, and come with demo templates for showcasing product catalogs. Popular options like Astra, GeneratePress, OceanWP, or Storefront are great choices. Prioritize themes optimized for fast loading times and mobile-friendly UX, and choose ones that integrate seamlessly with block editors or page builders like Elementor if you plan to design custom layouts.
After installing and activating your chosen theme, configure essential elements such as the header, footer, logo, typography, and colors using the WordPress Customizer. Importing a demo can accelerate setup, but make sure to replace demo content with your brand assets and product visuals. For advanced code-level changes, always create and use a child theme to ensure your customizations remain intact during updates.
- Install theme: Appearance → Themes → Add New.
- Choose a lightweight, WooCommerce-ready theme (Astra/GeneratePress/Storefront).
- Activate and configure via Appearance → Customize (logo, fonts, colors).
- Import demo content (optional) and replace with brand assets.
- Create a child theme if planning PHP/CSS edits.
- Test layout responsiveness on mobile and desktop.
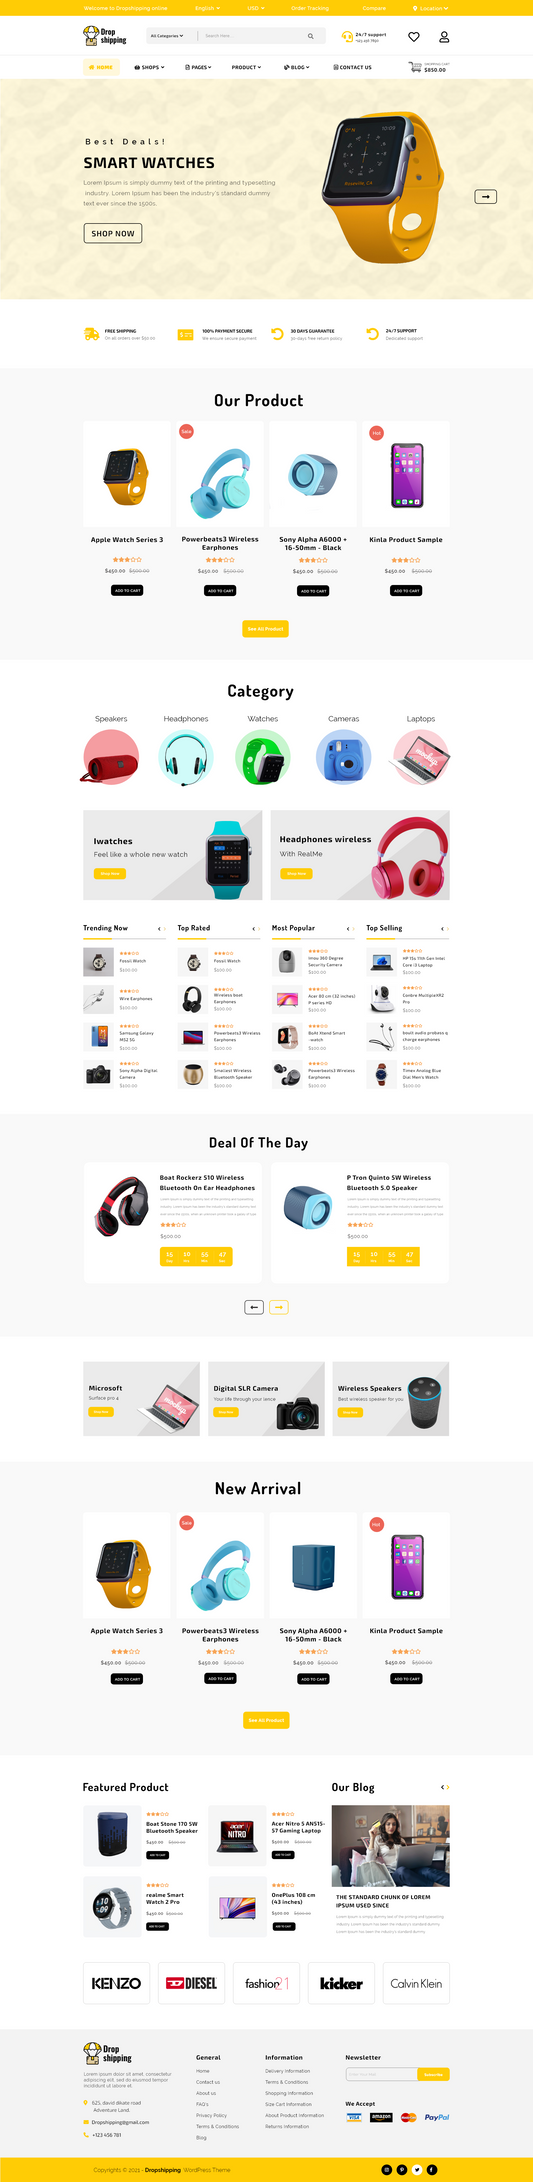
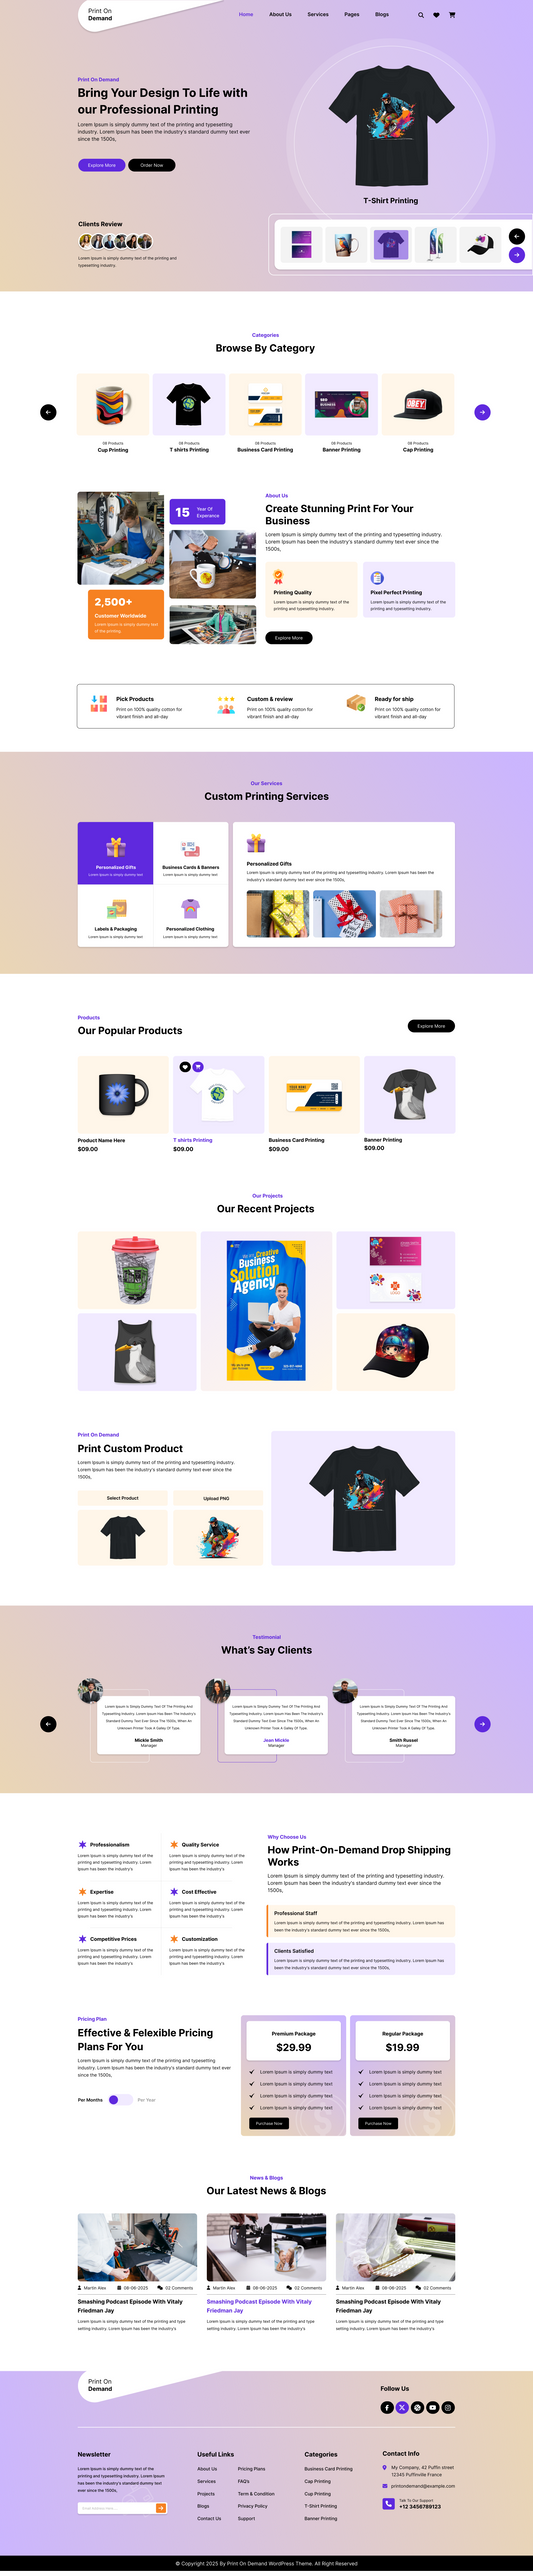
Print on Demand WordPress Theme

Print On Demand WordPress Theme by Buy WP Templates is crafted for creators and entrepreneurs looking to launch their own print-on-demand business with ease. Designed with simplicity and performance in mind, it allows you to sell custom-designed products like t-shirts, mugs, posters, and more without any technical hurdles.
Built using the native WordPress Customizer, this theme provides a smooth live-editing experience, letting you preview every change instantly. Its lightweight framework ensures fast loading times and seamless navigation, delivering both visual appeal and strong performance.
Although it doesn’t support Elementor, the theme works perfectly with the Printify plugin, giving you everything you need to design, sync, and sell products automatically. With its balance of speed, functionality, and design flexibility, it stands among the best premium WordPress templates for launching a professional print-on-demand store effortlessly.
Step 5: Install & Configure WooCommerce

WooCommerce is the eCommerce backbone for creating a print-on-demand website on WordPress. Install WooCommerce from Plugins → Add New and run the setup wizard to configure store address, currency, and product types. Create pages automatically (Shop, Cart, Checkout, My Account). Configure key settings: payment gateways (Stripe, PayPal), shipping (zones & methods), and tax rules. For payment testing, enable test/sandbox modes, then verify live credentials before launch. Configure email templates (order confirmation, processing, completed) with your brand elements and ensure transactional emails are tested. Finally, set up store currency and units, and integrate an SMTP plugin (like WP Mail SMTP) to improve email deliverability so customers reliably receive order confirmations.
- Install WooCommerce and run the setup wizard.
- Confirm Shop, Cart, Checkout, and My Account pages are created.
- Configure Payments: enable Stripe/PayPal and test in sandbox.
- Set shipping zones and tax settings (or integrate automated tax).
- Customize WooCommerce email templates with brand details.
- Install the SMTP plugin to ensure emails reach customers.
Step 6: Install & Connect the Printify Plugin

To automate product creation and fulfillment when you create a Print on Demand website, connect Printify to WooCommerce. Install the official Printify for WooCommerce plugin via Plugins → Add New. After activation, navigate to WooCommerce → Printify and click Connect. This will redirect you to Printify, where you authenticate the connection. On Printify, create or sign in to your store account and authorize the WooCommerce integration. Configure sync settings like default product visibility, sync pricing behavior, and automatic order routing. Once connected, products you create in Printify’s mockup generator can be published directly to your WooCommerce catalog. Ensure API permissions and webhooks are properly authorized to enable seamless order exchange for fulfillment.
- Install and activate the Printify for WooCommerce plugin.
- In the WP dashboard, open WooCommerce → Printify and click Connect.
- Sign in to Printify and authorize WooCommerce access.
- Review sync settings: auto-publish, price multiplication, and SKU behavior.
- Test the connection by creating a sample product and publishing to WooCommerce.
- Verify product appears in Products → All Products in WP.
Step 7: Configure Printify Account & Choose Providers

A correctly configured Printify account is central to quality, shipping speed, and margins when you create a Print on Demand website. In your Printify dashboard, add store details (name, address, billing), then explore print providers and product catalogs. Providers differ by print method, geographic production locations, turnaround time, and base price. Choose providers close to your target customers to reduce shipping time and cost. Set default mockup styles and image sizes, and verify preferred file formats (PNG, transparent backgrounds). Also, configure billing and payment methods in Printify so orders are automatically charged and processed. Finally, review provider reviews and sample orders to validate print quality before pushing large product catalogs live.
- Complete Printify profile: store name, address, billing method.
- Browse the product catalog and evaluate print providers by region.
- Choose primary providers for key SKUs (consider speed & cost).
- Set default mockup and image specifications.
- Order samples from chosen providers to confirm print quality.
- Adjust provider selection based on sample feedback.
Step 8: Design & Create Your POD Products

Once your Printify account is ready, it’s time to start creating products that reflect your brand’s creativity. This step is essential when you create a Print on Demand website because your product designs define your store’s identity. Within Printify, choose a product such as t-shirts, hoodies, mugs, or tote bags and open the product editor. Upload your high-resolution design file (300 DPI PNG with a transparent background). You can position, resize, and preview your artwork on the mockup. Try multiple variations for each design, different color options, or front/back prints to appeal to wider audiences. Once satisfied, set pricing based on Printify’s base cost and your target profit margin. You can then publish the product directly to WooCommerce, where it will appear in your store catalog, ready to sell.
- Go to Printify → Catalog → Select a product.
- Upload high-quality design (300 DPI transparent PNG).
- Adjust placement and preview in mockup view.
- Set product name, description, and price.
- Publish product to WooCommerce store.
-
Verify the product appears under Products → All Products.
Step 9: Customize Your Store Layout & Branding

Now that your products are live, it’s time to make your website visually appealing and cohesive. A professional layout enhances user trust and keeps visitors browsing longer. Access Appearance → Customize to modify elements like your homepage layout, shop grid, and header banners. You can also use the WordPress block editor or a page builder like Elementor to create stylish product sections, hero sliders, and featured categories. Maintain brand consistency, use your logo, signature colors, and readable typography throughout. Don’t forget to add CTAs like “Shop Now” or “Explore Collection” for better engagement. A well-structured and visually consistent store not only looks professional but also improves conversion rates and SEO rankings by offering a clean, user-friendly experience.
- Go to Appearance → Customize to edit theme layout.
- Upload logo and favicon for brand recognition.
- Adjust homepage sections (hero banner, featured products).
- Create CTAs with buttons like “Shop Now” or “View Collection.”
- Maintain uniform color palette and typography.
- Test mobile layout for responsiveness.
Step 10: Set Up Essential Pages

Your POD website should include essential pages that improve user experience and establish trust. Along with the default Shop, Cart, and Checkout pages created by WooCommerce, consider adding About, Contact, FAQ, Shipping Policy, and Returns pages. These not only boost transparency but also enhance SEO performance. The About page should share your brand story and mission, while the FAQ and Policy pages address key concerns like delivery timelines, returns, and payment options, reducing customer confusion.
A clear Contact page with a simple form or mailto: link increases your store’s credibility. To further build confidence, include testimonials or trust badges across key pages. When paired with tools like a product configurator for WooCommerce your website becomes even more engaging, allowing customers to personalize products easily while reinforcing trust and professionalism.
- Add essential pages: About, Contact, FAQ, Shipping Policy, Returns.
- Go to Pages → Add New and create each with custom content.
- Add a contact form (use Contact Form 7 or WPForms plugin).
- Insert trust badges or payment icons in the footer.
- Link these pages in the header and footer menus.
Step 11: Optimize Your Website for SEO

Search Engine Optimization is vital when you create a Print on Demand website to attract organic visitors and boost sales. Start by installing an SEO plugin such as Rank Math or Yoast SEO to manage meta titles, descriptions, and sitemaps. Use your focus keyword naturally in page titles, URLs, and headings (e.g., “Create Print on Demand Website for Custom T-Shirts”). Optimize product descriptions with keywords like “custom apparel” or “personalized gifts” to rank better on search engines. Use descriptive alt text for all images and compress them using plugins like Smush or TinyPNG. Ensure your website loads quickly, as site speed directly affects SEO ranking. Finally, submit your sitemap to Google Search Console to ensure your pages are indexed properly.
- Install Rank Math or Yoast SEO plugin.
- Add unique meta titles & descriptions for all pages.
- Optimize images (alt text + compression).
- Improve loading speed (cache, minify CSS/JS).
- Submit sitemap to Google Search Console.
- Use keywords naturally in product titles and headings.
Step 12: Set Up Payment & Shipping Methods

To start receiving orders, you must configure secure and flexible payment methods. In WooCommerce settings, connect gateways like Stripe, PayPal, or Razorpay, depending on your target audience. Enable both debit/credit cards and PayPal for convenience. For shipping, since Printify handles fulfillment, you’ll sync shipping automatically. Printify calculates rates and delivery times for each product based on the provider's location. Double-check that taxes, currency, and shipping zones are correctly configured in WooCommerce. Test the checkout process by placing a dummy order in sandbox mode to verify smooth transaction flow. Providing secure, quick, and hassle-free checkout enhances user trust and conversion.
- Go to WooCommerce → Settings → Payments → enable Stripe/PayPal.
- Configure currency and tax settings.
- Verify Printify’s automatic shipping sync.
- Set up shipping zones and rates if required.
- Place a test order to confirm checkout works.
- Enable SSL (HTTPS) for secure transactions.
Step 13: Test, Launch & Promote Your Store
Before going live, thoroughly test every function on your website. Check your homepage, product pages, cart, and checkout for responsiveness and functionality. Place a real test order using Printify’s sample or discount mode to confirm order syncing and fulfillment. Once testing is complete, announce your launch on social media and send an email campaign to your subscribers. Use attractive banners, influencer collaborations, or Facebook Ads to generate initial traffic. Add your store to online directories or niche communities related to your products. Launching with a small discount offer or a limited-time promo can also attract early customers. Consistent promotion and engagement after launch will gradually build your brand and organic visibility.
- Test all pages for responsiveness (desktop, tablet, mobile).
- Place a test order to verify the Printify–WooCommerce sync.
- Announce launch via social media & newsletters.
- Run limited-time offers or discounts.
- Promote via influencers or Facebook Ads.
- Monitor site speed and user behavior with Google Analytics.
Step 14: Maintain & Scale Your POD Business

After your store goes live, continuous maintenance ensures long-term success. Regularly update your WordPress, WooCommerce, and plugin versions to maintain security and performance. Track analytics using Google Analytics and Search Console to understand visitor behavior and top-performing products. Use this data to improve product listings, add new designs, or remove underperforming ones. Expand your catalog gradually and consider adding new product types or providers within Printify to diversify revenue. Optimize for seasonal trends like holidays or events to boost sales. You can also use email marketing and remarketing ads to re-engage past customers. Maintaining consistency in updates, promotions, and SEO will help your store grow sustainably over time.
- Update WordPress, WooCommerce, and plugins regularly.
- Monitor analytics & user behavior via Google Analytics.
- Introduce new designs and seasonal collections.
- Optimize SEO and product descriptions periodically.
- Engage customers via newsletters & remarketing.
- Maintain weekly site backups and security scans.
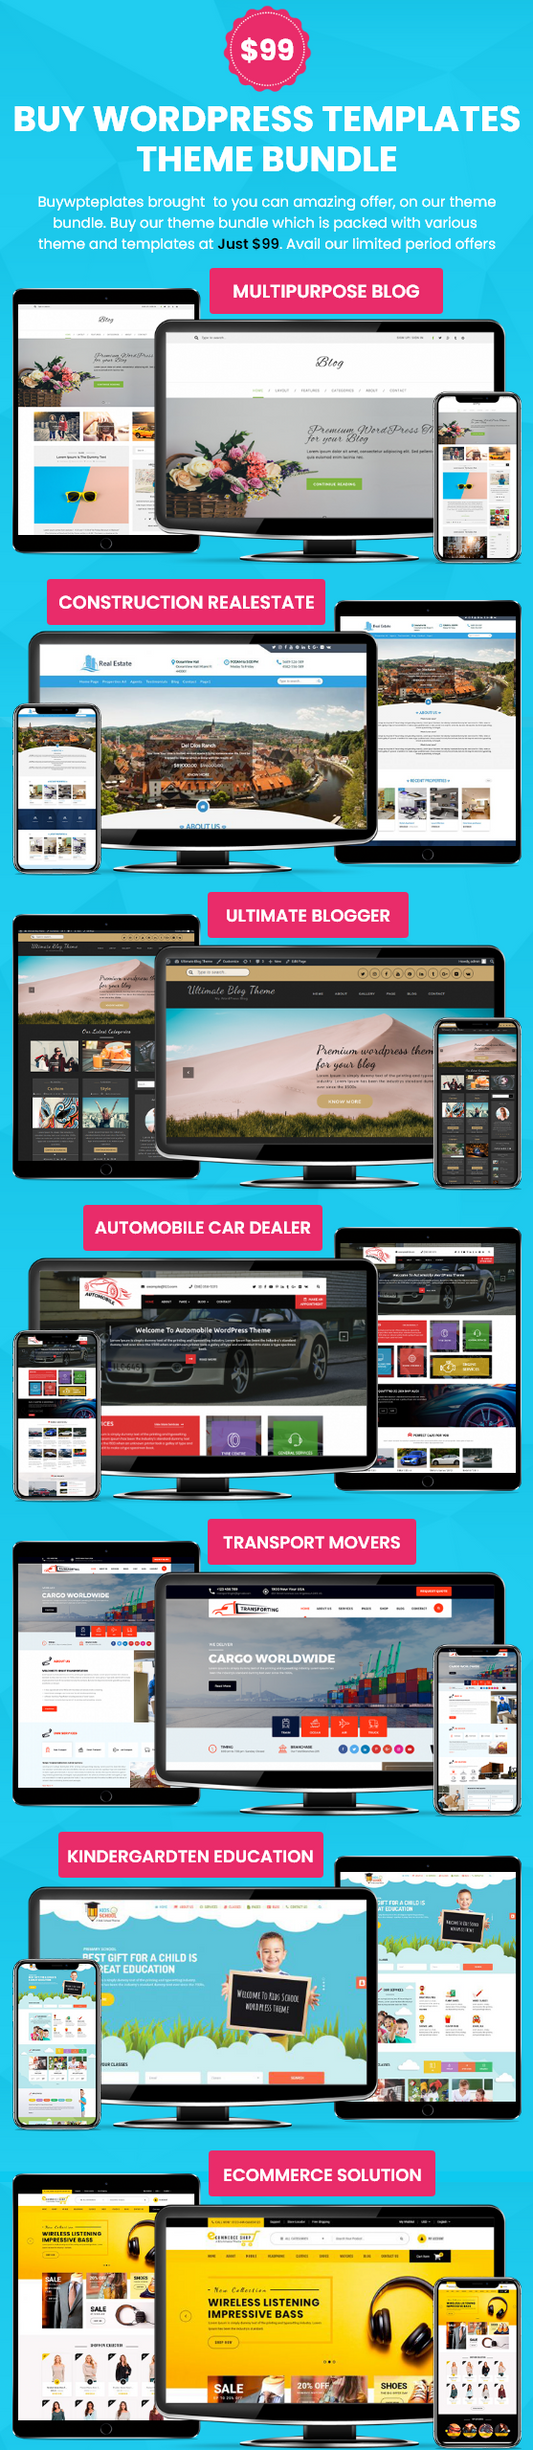
Conclusion
Creating a Print on Demand website on WordPress has never been easier, thanks to the seamless integration of the Printify plugin and themes included in a WP theme bundle designed for this purpose. The Print On Demand WordPress Theme by Buy WP Templates streamlines every step from setting up your store and customizing its look to syncing products for automated fulfillment. Even without page builders like Elementor, the built-in WordPress Customizer provides complete control over your design, allowing you to preview changes instantly while keeping your site lightweight and fast.
Whether you’re a designer, artist, or entrepreneur, this theme offers a dependable foundation to launch your online print-on-demand business with confidence. It perfectly balances functionality, performance, and user-friendliness, all optimized for Printify compatibility. Start building your custom product store today and transform your creative ideas into a successful online business.