How to Modify WordPress Themes: Ultimate Guide for Users
A well-designed website plays an important role in improving user experience, SEO rankings, and online visibility. Many website owners choose to modify WordPress themes to create a unique design, improve website speed, and add better functionality. Whether you run a blog, business website, or WooCommerce store, modifying WordPress themes helps match your brand identity and improve website performance.
The good thing is that WordPress makes theme customization simple, even for beginners. You can change layouts, colors, typography, menus, widgets, and homepage sections without affecting your main content. Before making changes, it is important to understand how theme modification works and what elements may change after switching themes. In this guide, you will learn safe and easy steps to modify premium WordPress templates while maintaining website functionality, SEO optimization, and mobile responsiveness.
Why Theme Customization Matters?
Website customization is important because it helps businesses create a strong online identity. A default theme design may look generic and similar to thousands of websites online.
-
Better Branding: Custom logos, colors, typography, and layouts help businesses create a memorable brand image.
-
Improved SEO Performance: Optimized themes improve search engine rankings through faster loading speeds, structured layouts, schema integration, and mobile-friendly design.
-
Better User Experience: Easy navigation, attractive product displays, and responsive layouts improve customer satisfaction.
-
Increased Conversions: Professional product pages, trust signals, optimized checkout pages, and faster loading improve sales and lead generation.
- Enhanced Mobile Experience: Most website visitors use smartphones. Responsive customization ensures websites perform properly on all devices.
Step 1: Install a New WordPress Theme

The first and most important step when you modify WordPress themes is installing the new theme properly. WordPress provides thousands of free and premium themes that can completely change the design and functionality of your website. Before installing any theme, make sure it is responsive, SEO-friendly, compatible with your plugins, and updated regularly by the developer.
To install a new theme, log in to your WordPress dashboard and go to Appearance → Themes Here, you will see all the themes currently installed on your website. Click on the Add New button available at the top of the page. WordPress will open the theme directory where you can search for free themes using keywords, categories, or specific theme names.
If you already know the name of the theme you want to use, type it into the search bar. Once the theme appears, click the Install button. WordPress will automatically download and install the files for you.
If you have purchased a premium WordPress themes from a marketplace or a third-party provider, the installation process is slightly different. Premium themes are usually downloaded as ZIP files. To upload them, click on the Upload Theme button located near the top of the screen. Then choose the ZIP file from your computer and click Install Now.
After installation is complete, WordPress will display an activation option. However, do not activate the theme immediately. It is always recommended to preview and test the theme before making it live on your website.
Important Tips Before Installation
- Always download themes from trusted websites.
- Avoid nulled or pirated themes because they may contain malware.
- Read customer reviews and ratings before installing.
- Check if the theme supports the latest WordPress version.
- Ensure the theme is mobile-friendly and SEO optimized.
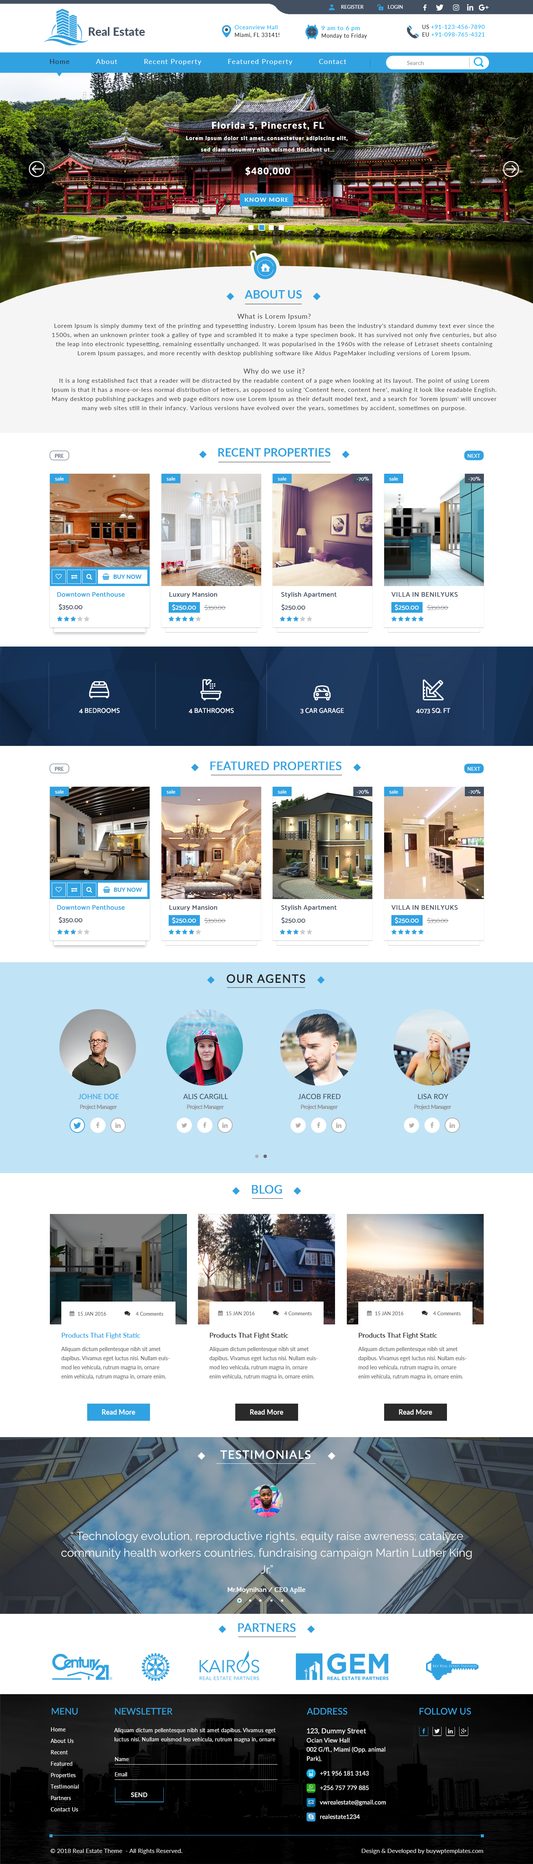
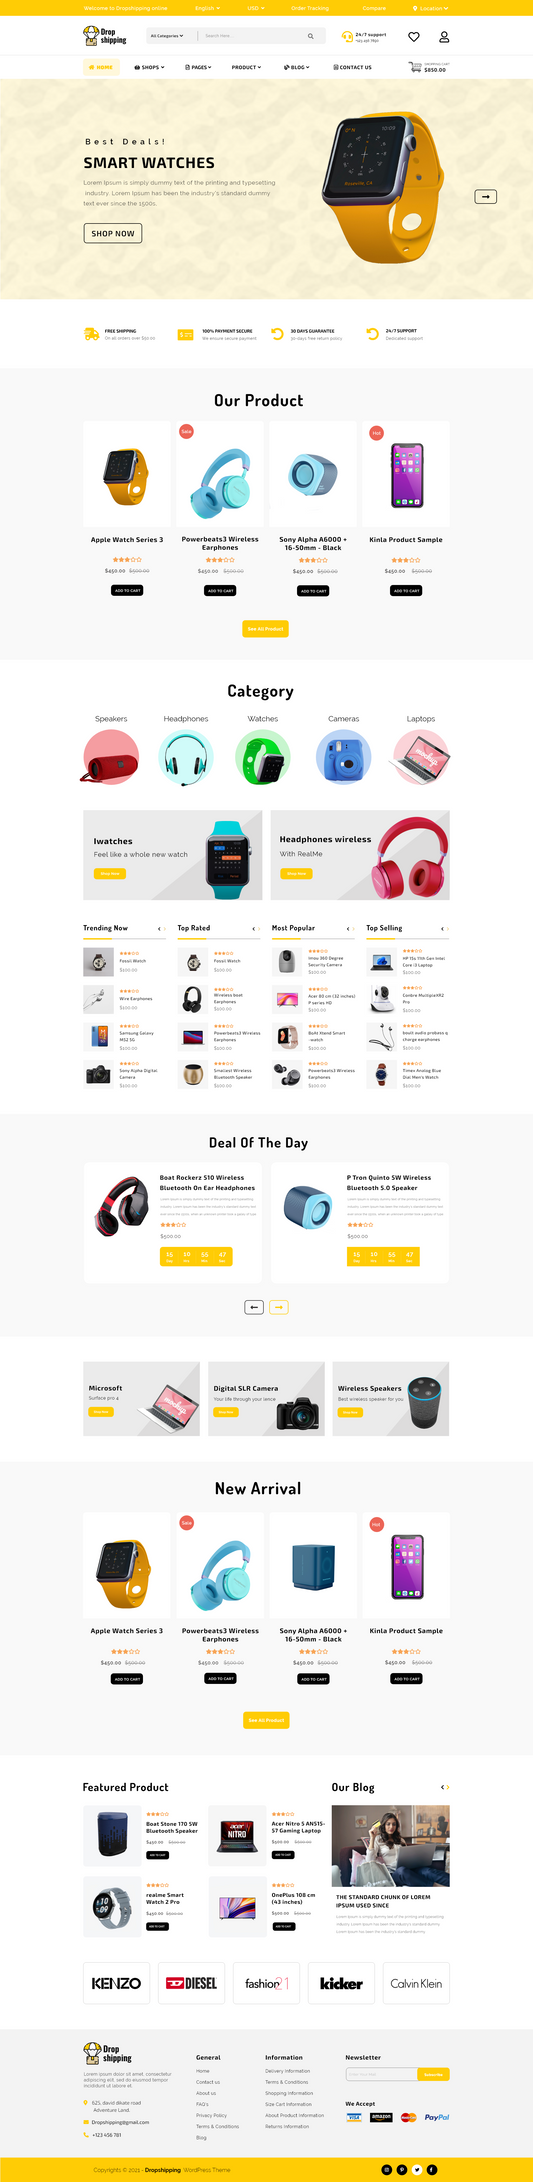
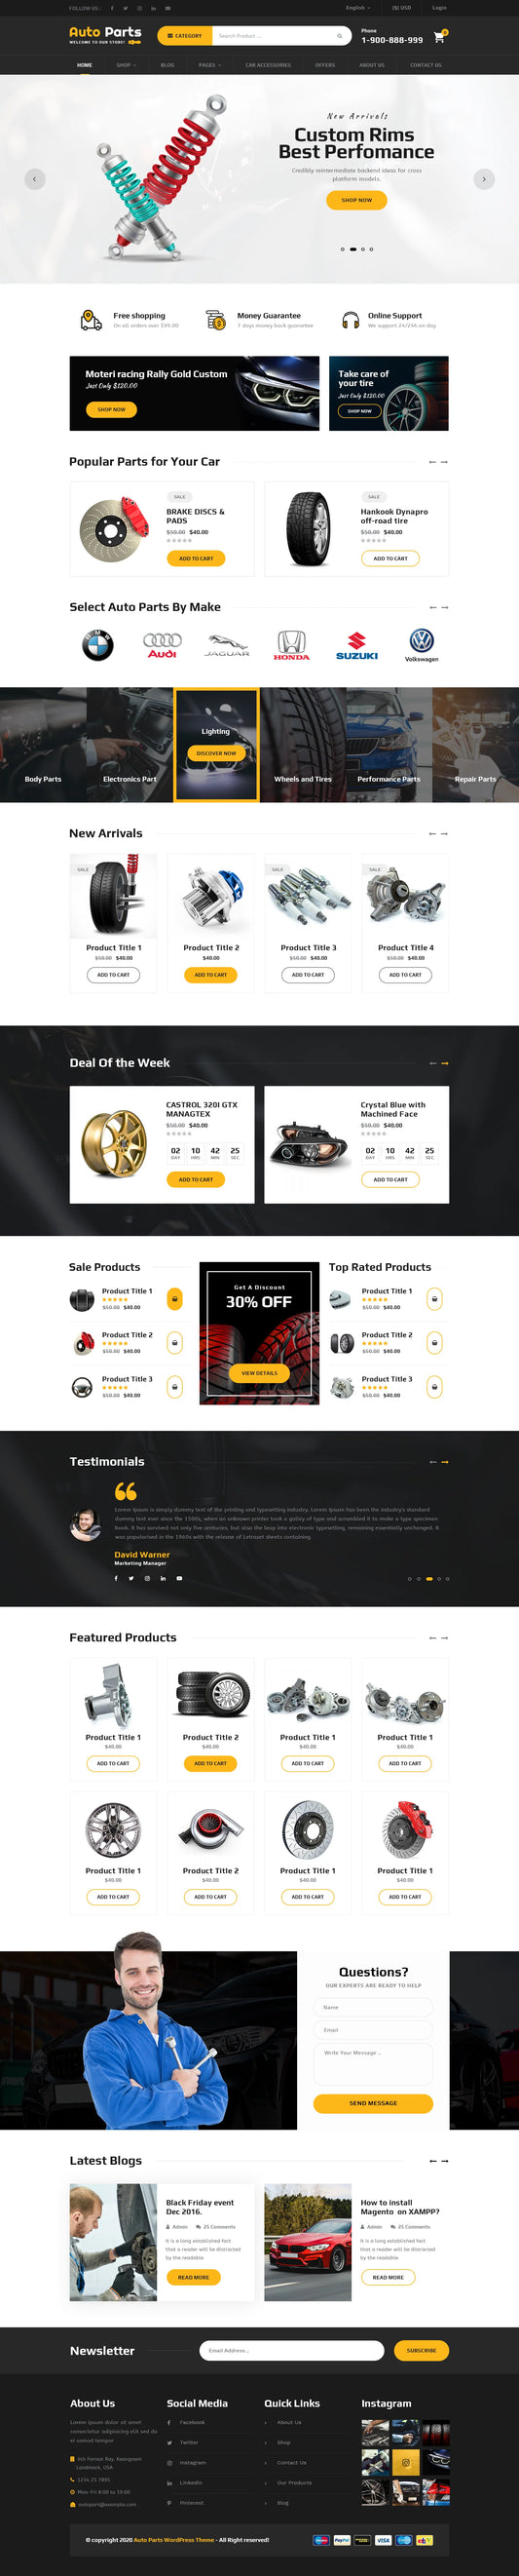
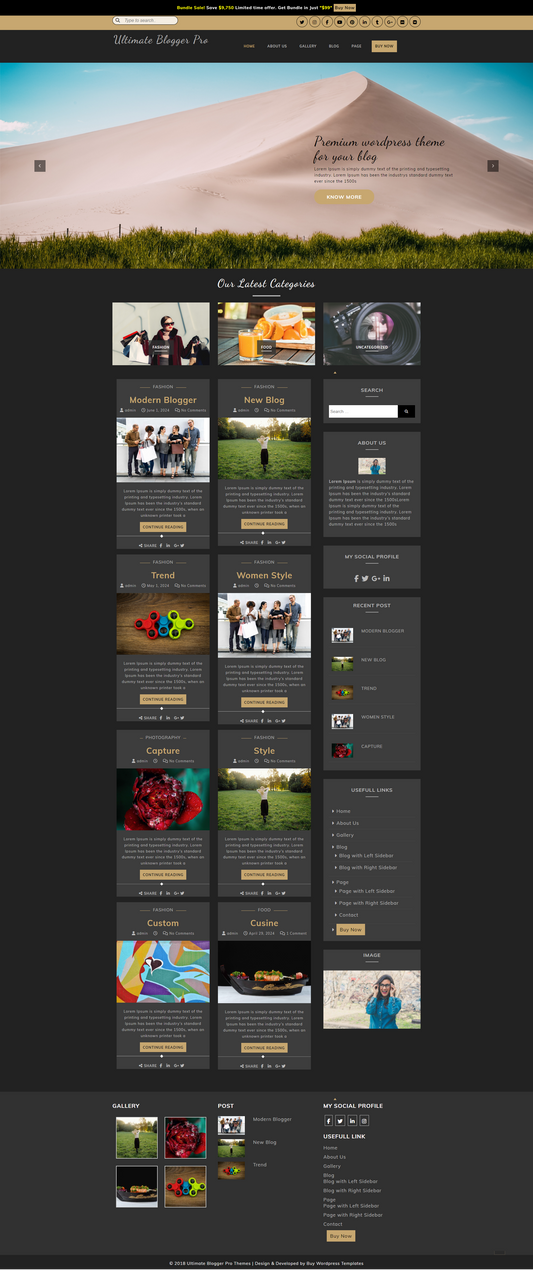
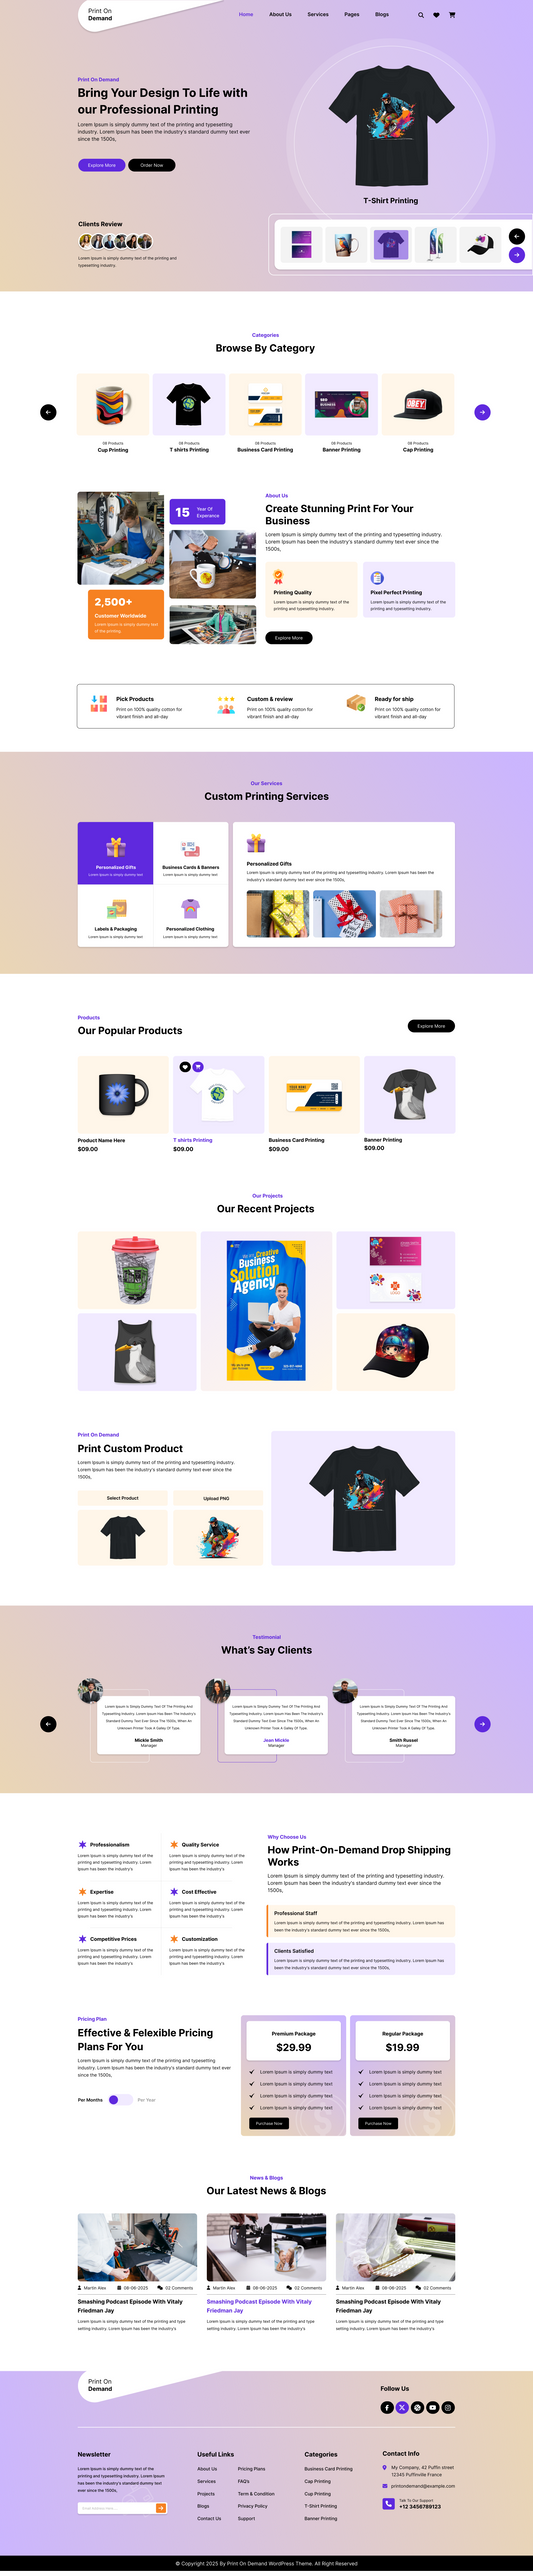
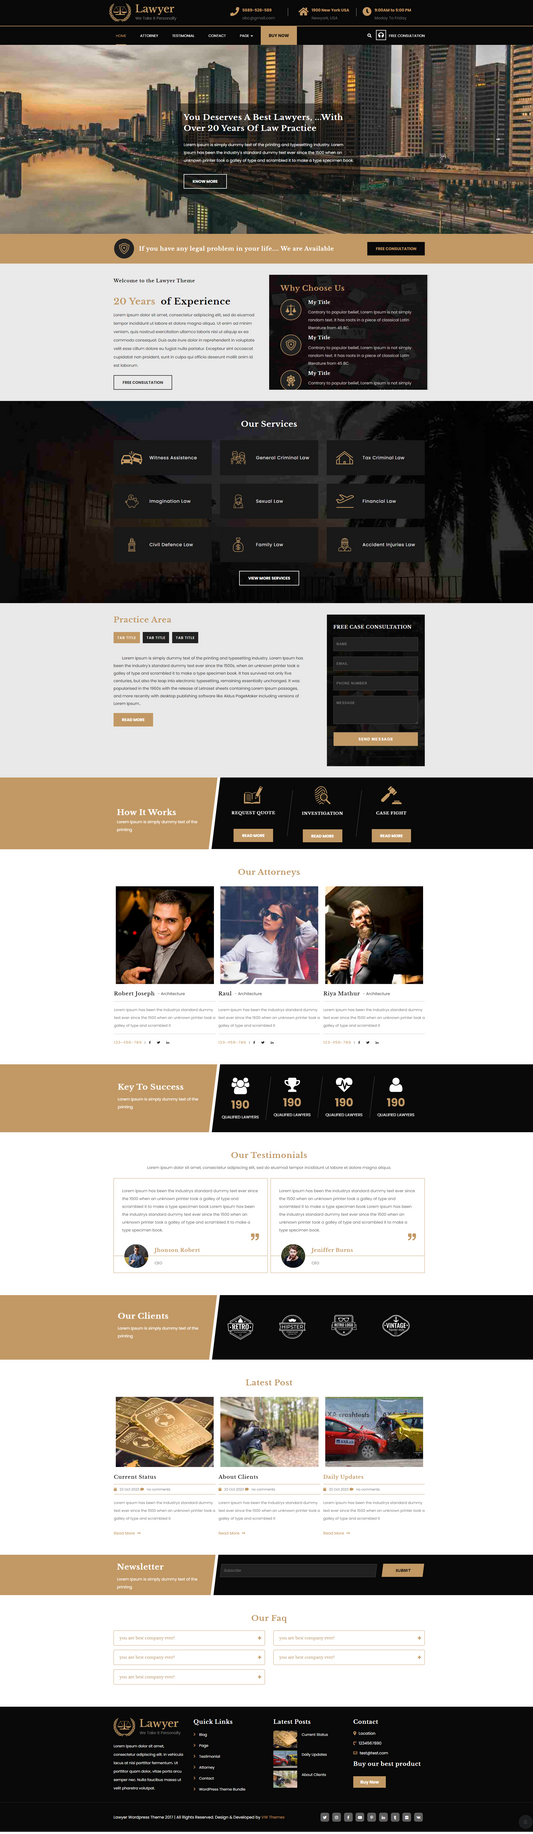
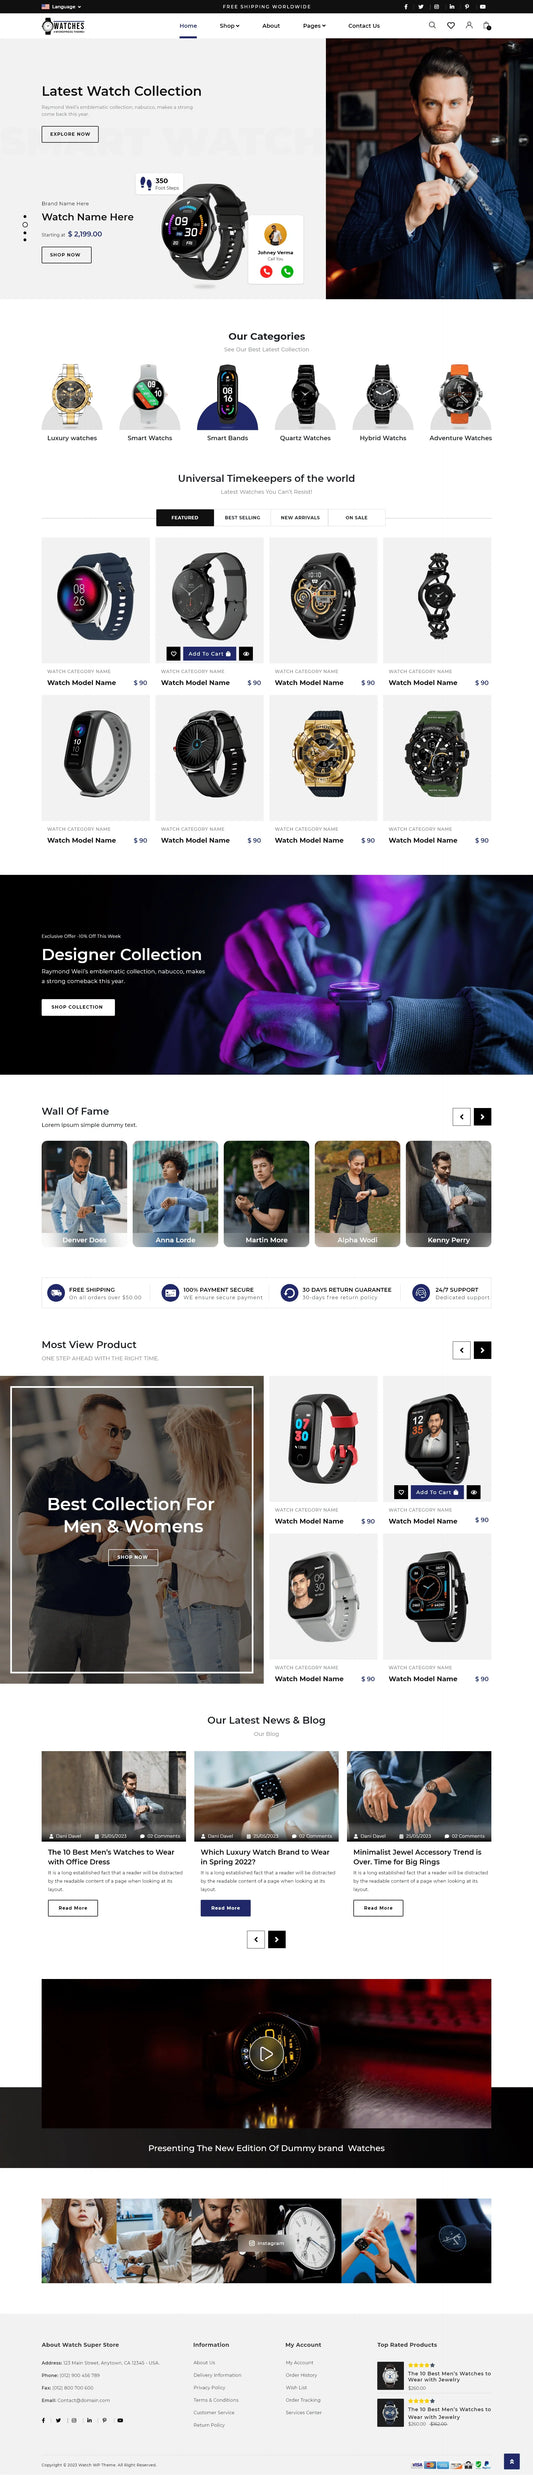
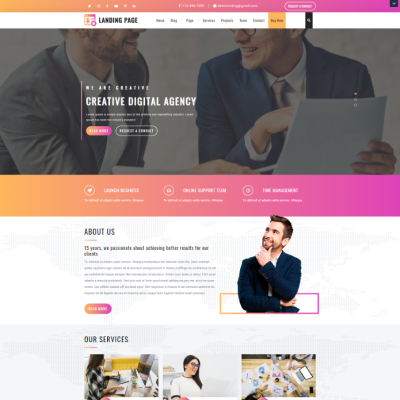
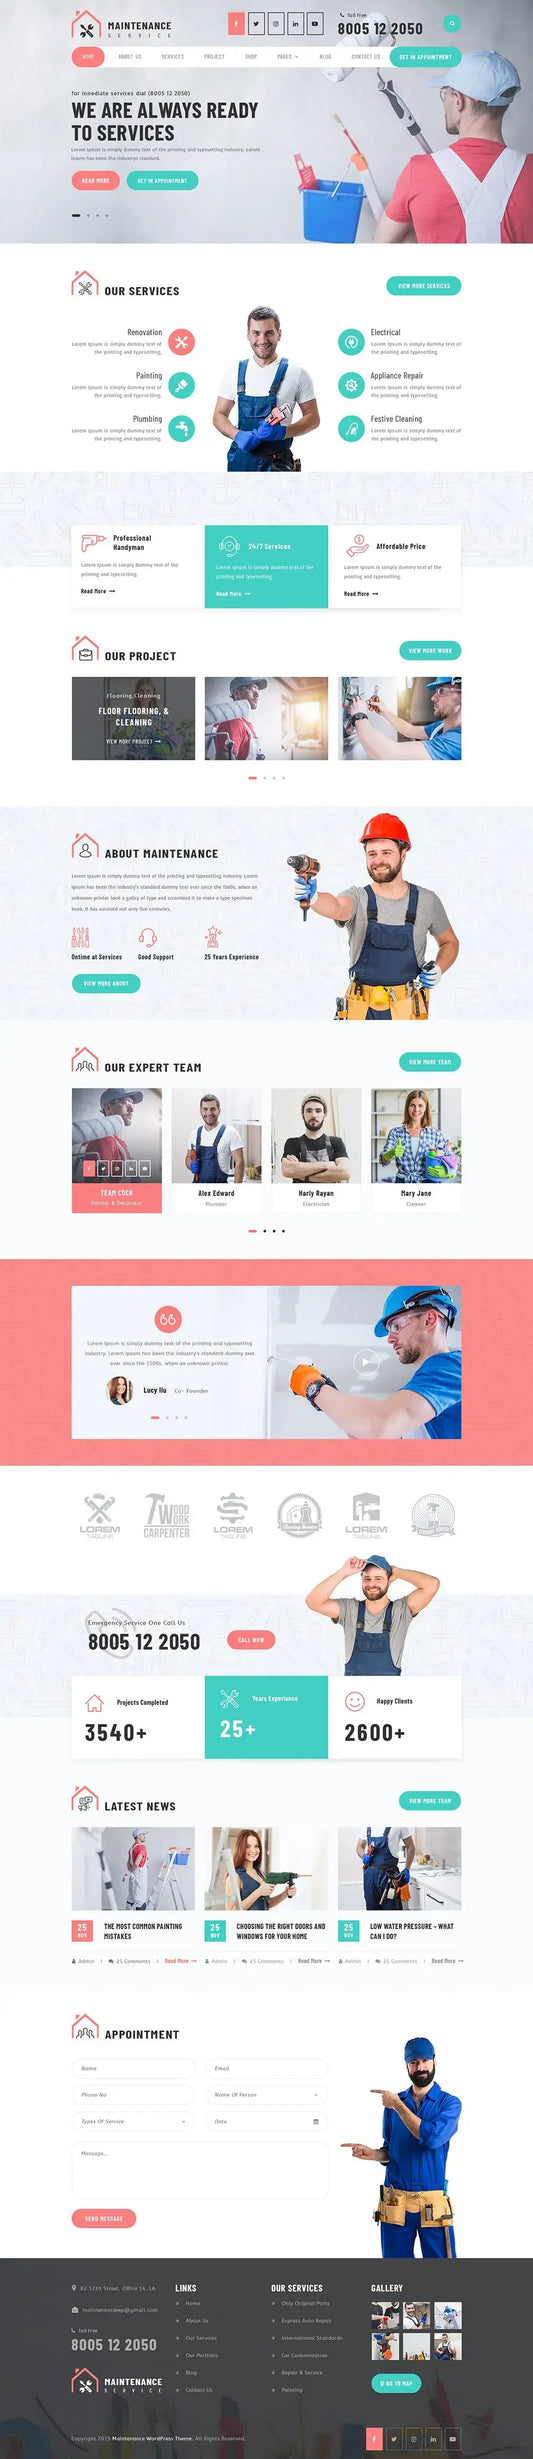
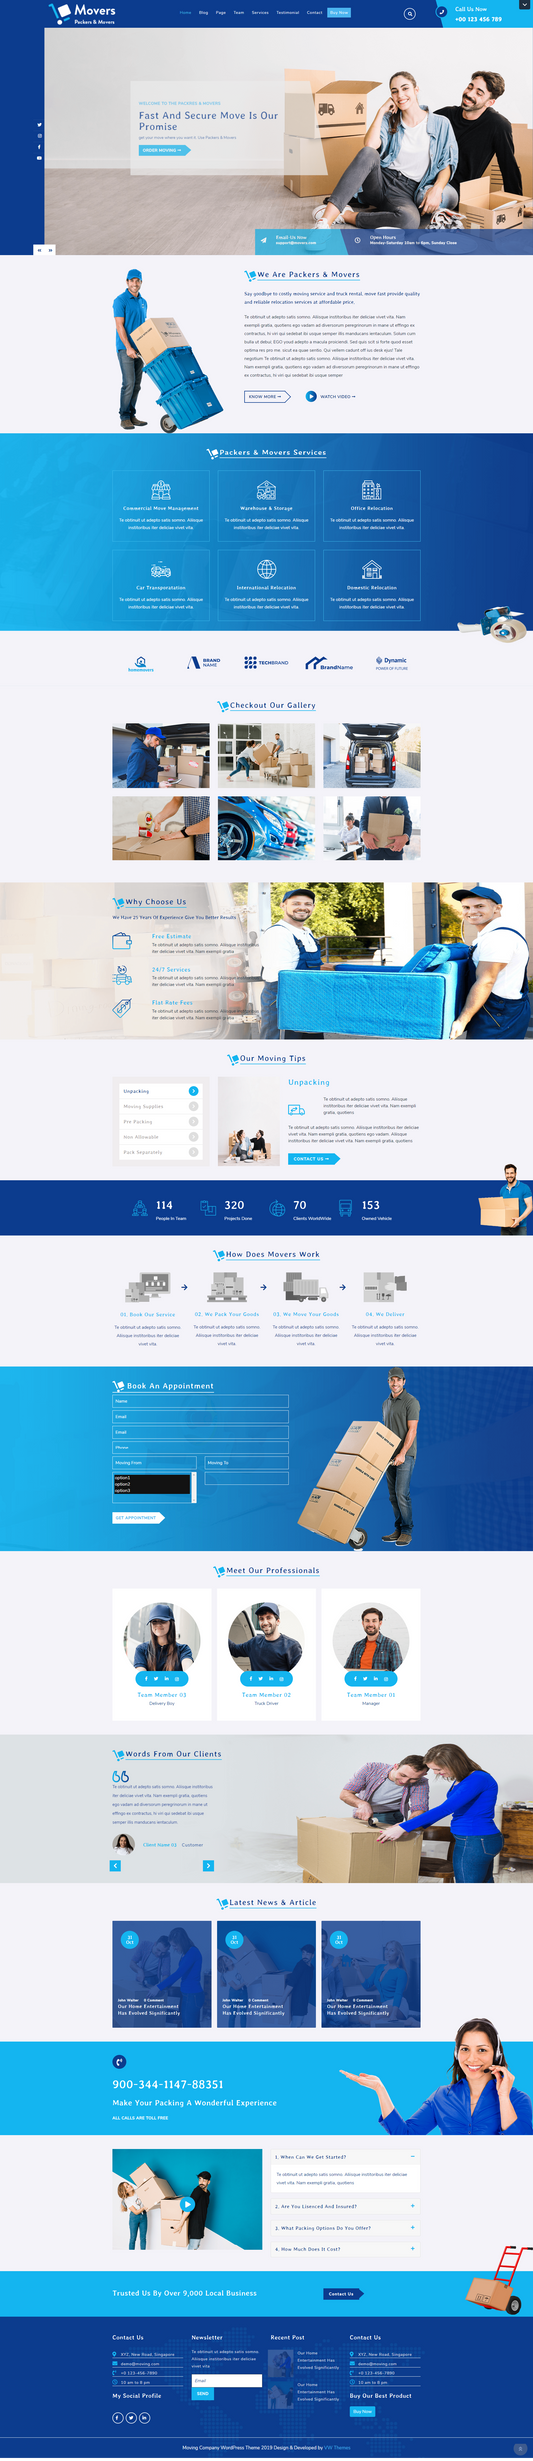
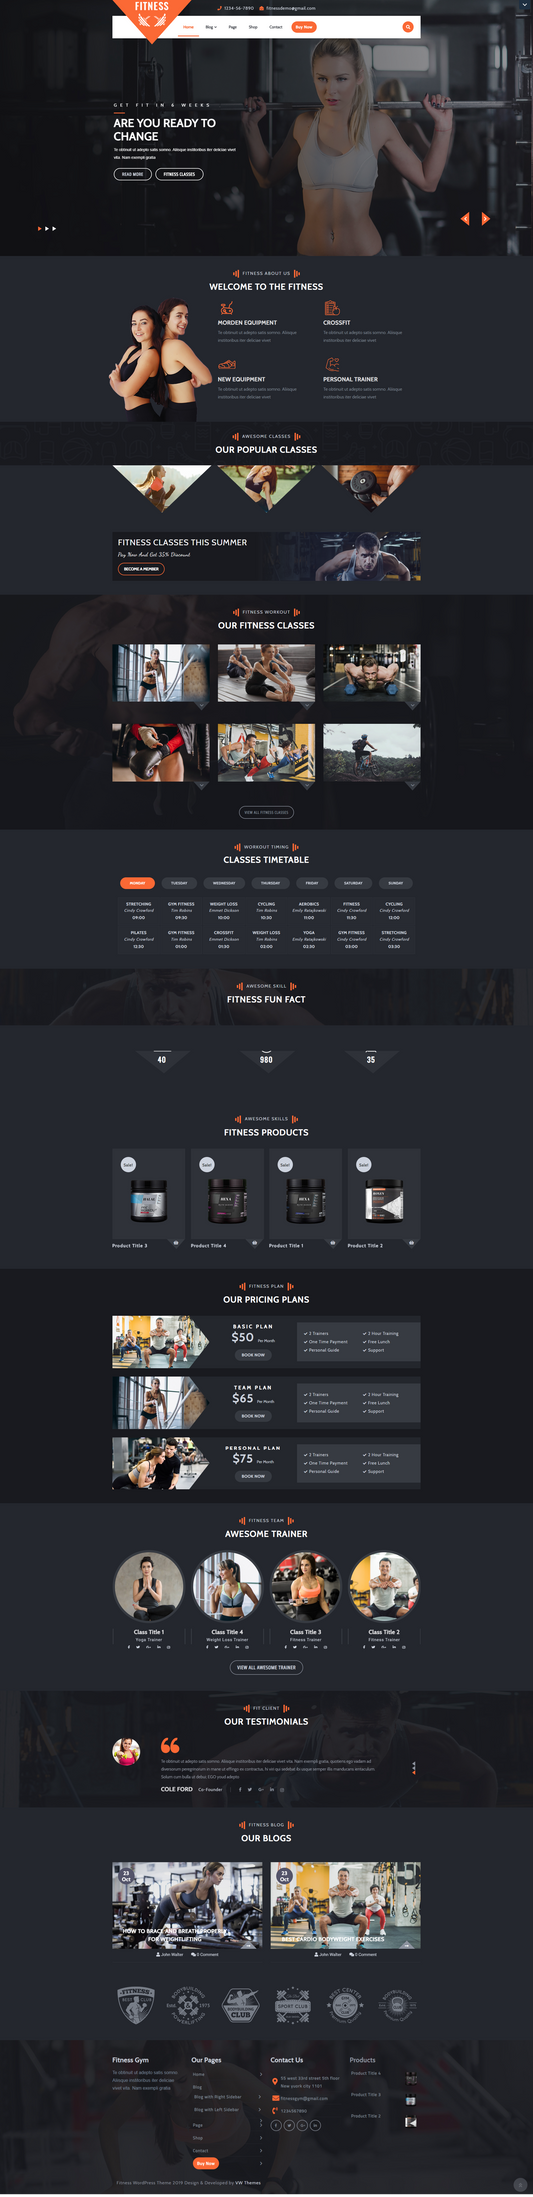
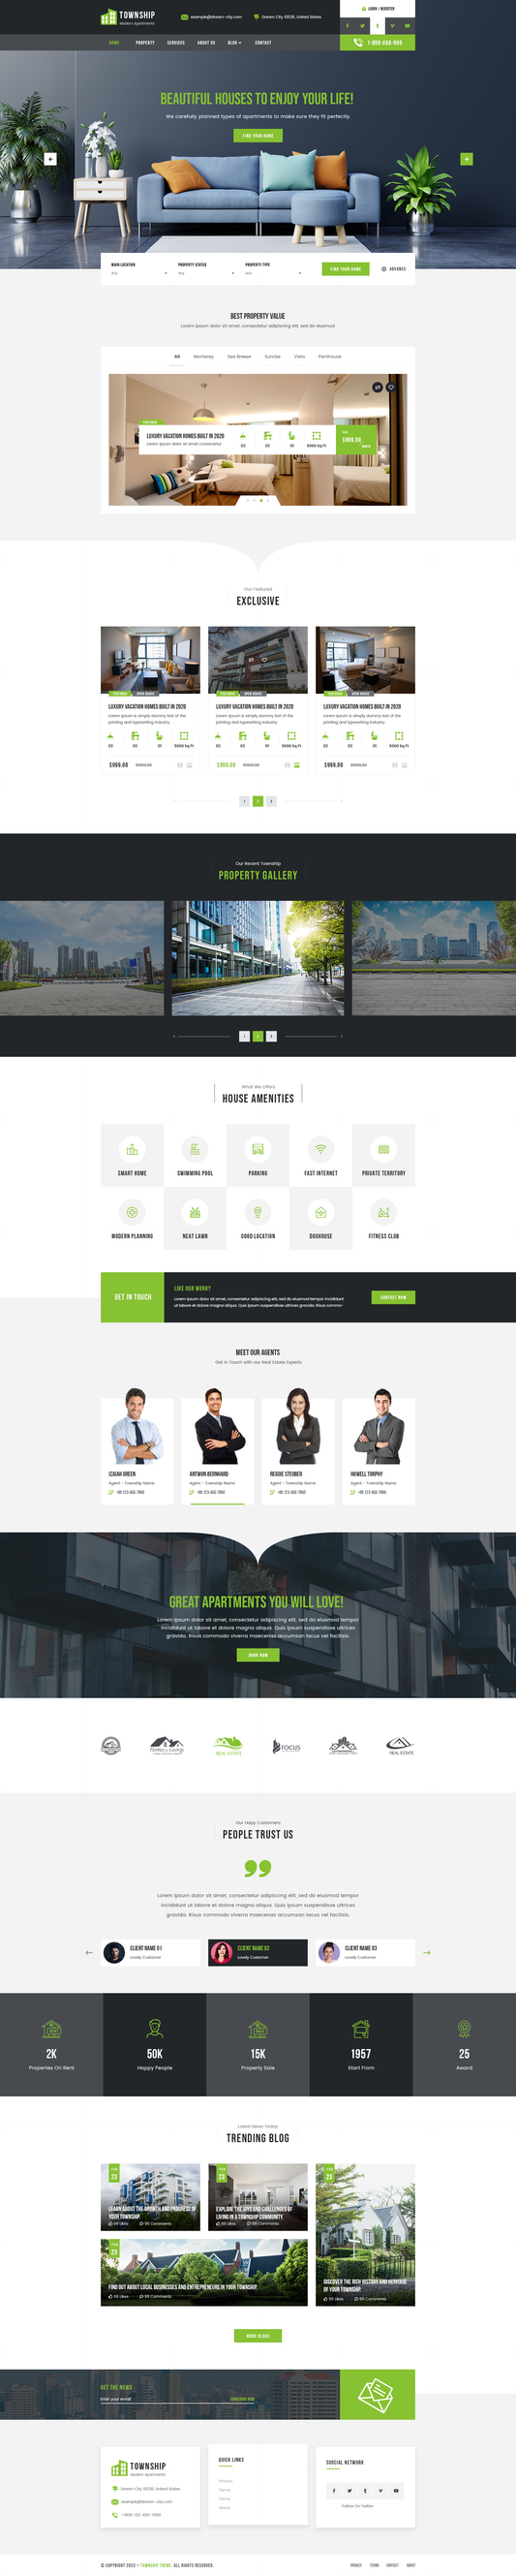
For eCommerce websites, using a WooCommerce-compatible template is highly recommended. One example is the Ecommerce WordPress Template, which includes responsive layouts, WooCommerce integration, homepage sections, typography controls, banners, sliders, and SEO-friendly design features.
Step 2: Preview the Installed Theme Using WordPress Customizer

After installing the theme, the next step is to preview it before activation. This is a very important process because it allows you to analyze how your existing website content will appear with the new design.
WordPress provides a built-in feature called the WordPress Customizer. The customizer gives users a live preview of the new theme without affecting the live website. This means visitors will continue seeing your old design while you test the new one privately.
To access the preview option, go to Appearance → Customize from your WordPress dashboard. The customizer panel will open with your currently active theme. On the left-hand sidebar, you will see an option called Change. Click on it to view all installed themes on your website.
Find the newly installed theme and click on the Live Preview button. WordPress will now display your website using the new theme design. This preview mode helps you understand how your homepage, blog posts, pages, images, menus, and widgets will look after activation.
During the preview process, carefully review every important section of your website.
Things You Should Check During Theme Preview
-
Homepage Layout: Some themes use custom homepage builders and unique layouts. Check whether your homepage content displays correctly with the new design.
-
Navigation Menus: Verify that your header menus, dropdown menus, and footer menus are properly aligned.
-
Widgets: Widgets placed in sidebars or footer areas may shift or disappear. Make sure all widgets are visible and working correctly.
-
Mobile Responsiveness: Open your website preview on mobile and tablet views to check responsiveness. Most users browse websites using smartphones, so mobile optimization is essential.
-
Typography and Colors: Review font styles, heading sizes, text spacing, and color combinations to ensure readability and brand consistency.
-
Blog and Product Pages: If you run a WooCommerce store or blog website, inspect product pages, category pages, and blog layouts carefully.
- Plugin Compatibility: Some plugins may not work properly with certain themes. Check forms, sliders, SEO plugins, and page builders during preview.
The WordPress Customizer also allows you to make quick changes before activation. You can customize:
- Site logo
- Header image
- Colors
- Fonts
- Widgets
- Menus
- Homepage settings
- Footer content
This helps users make adjustments without editing code manually.
Previewing the theme carefully helps avoid design errors, layout issues, and functionality problems after activation.
Step 3: Activate the New Theme

Once you are completely satisfied with the preview and customization settings, the final step is activating the new WordPress theme.
Inside the WordPress Customizer, click on the Activate and Publish button. WordPress will instantly make the new theme live on your website. Your visitors will now see the updated design and layout.
After activation, it is important to test your website thoroughly because some elements may still require adjustments.
Important Checks After Theme Activation
Test All Website Pages
Open different pages on your website and make sure all content is displaying properly. Check:
- Homepage
- About page
- Contact page
- Blog pages
- Product pages
- Category pages
Reassign Menus
Sometimes menu locations change after theme activation. Go to Appearance → Menus and assign menus to the correct positions.
Check Widgets
Visit Appearance → Widgets and confirm that all sidebar and footer widgets are active.
Verify Plugin Functionality
Test contact forms, sliders, SEO tools, caching plugins, and WooCommerce features to ensure everything works properly.
Optimize Website Speed
New themes may affect loading speed. Use tools like
- Google PageSpeed Insights
- GTmetrix
- Pingdom
If the website becomes slow, optimize images and enable caching plugins.
Review Mobile Layout
Test your website again on different screen sizes to ensure responsive performance.
Fix Broken Shortcodes
If your previous theme used theme-specific shortcodes, they may stop working after activation. Replace or remove unnecessary shortcodes.
Clear Cache
If you use caching plugins or CDN services, clear the cache after activating the new theme so visitors can view the updated design.
Conclusion
Modifying a WordPress theme is a simple and effective way to improve your website design, functionality, SEO performance, and user experience. By following the correct steps, you can safely customize layouts, menus, widgets, colors, typography, and homepage sections without affecting your important website content. Before making any changes, always create a backup and preview the new theme using the WordPress Customizer to avoid design or compatibility issues.
A responsive and SEO-friendly theme helps improve website speed, mobile responsiveness, search engine rankings, and customer engagement. Whether you run a blog, business website, or WooCommerce store WP theme bundle gives you better control over your online presence. With proper customization and regular updates, you can create a professional, modern, and high-performing website that attracts more visitors and improves overall website performance.
Frequently Asked Questions (FAQs)
1. Why are my widgets missing after changing the theme?
Different themes use different widget areas and layouts. After you modify WordPress themes, some widgets may move to inactive sections. You can restore them by visiting Appearance → Widgets and reassigning them to the correct sidebar or footer areas.
2. Will changing my WordPress theme affect SEO rankings?
Changing themes can affect SEO if the new theme is not optimized properly. A responsive, fast-loading, and SEO-friendly theme can improve search engine rankings, while a poorly coded theme may reduce performance. Always choose themes with clean code, mobile responsiveness, schema markup, and optimized speed.
Can plugins stop working after modifying a WordPress theme?
Yes, some plugins may experience compatibility issues if the new theme uses different coding structures or page builders. After theme activation, always test SEO plugins, sliders, WooCommerce features, contact forms, and caching plugins to ensure everything works correctly.
Is it necessary to back up my website before changing themes?
Yes, creating a backup is highly recommended before you modify WordPress themes. A backup helps restore your website if any design, plugin, or compatibility issue occurs during the customization process.
Can I switch back to my old WordPress theme later?
Yes, WordPress allows users to reactivate previously installed themes anytime. However, some custom settings from the old theme may need to be reconfigured after switching back.