
How to Build a WordPress Sales Funnel to Boost Conversion
You’re driving traffic to your WordPress site, your content is solid, and your product is great. So, why aren't the sales rolling in? The truth is building an online store or optimising it to the SEO standards isn’t just enough. Bringing visitors to your store and turning them into loyal customers is what brings value. Well, this is a long run but not that overwhelming when you know the right path. Without a structured path to lead them from 'just looking' to 'check out,' you’re leaving money on the table.
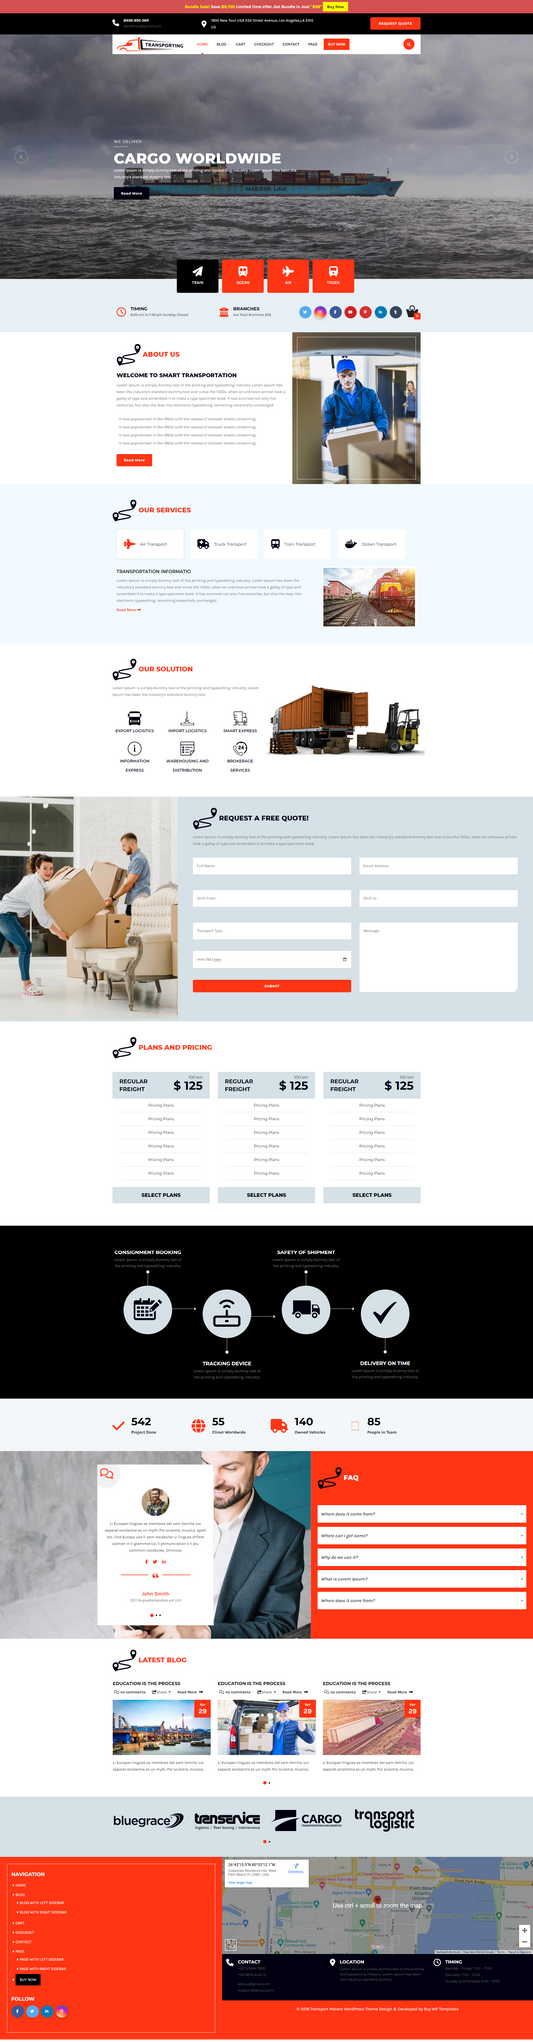
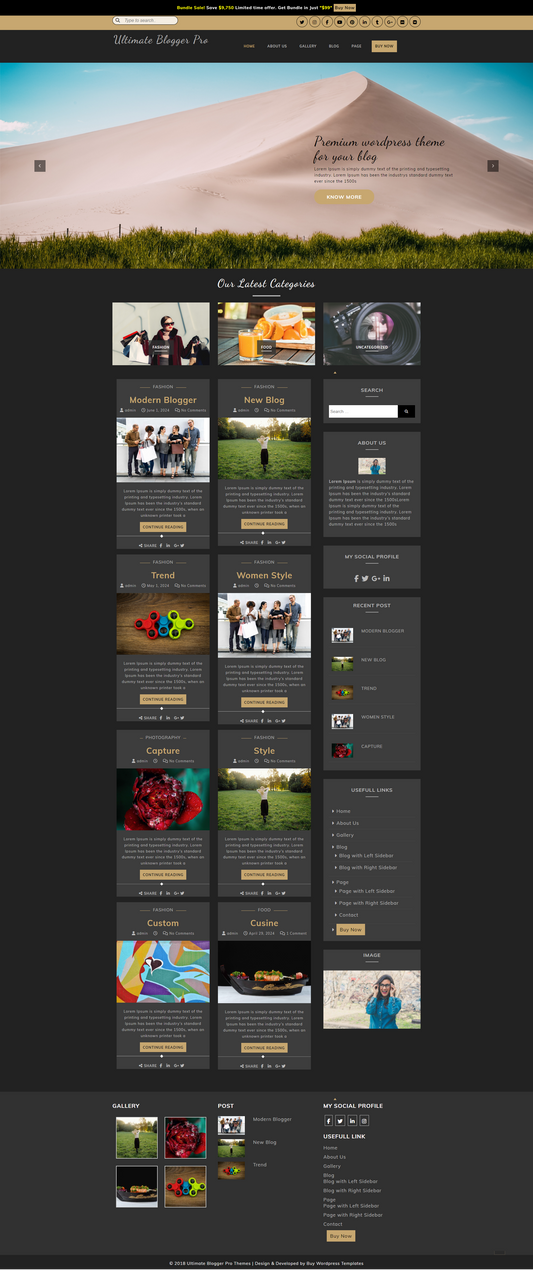
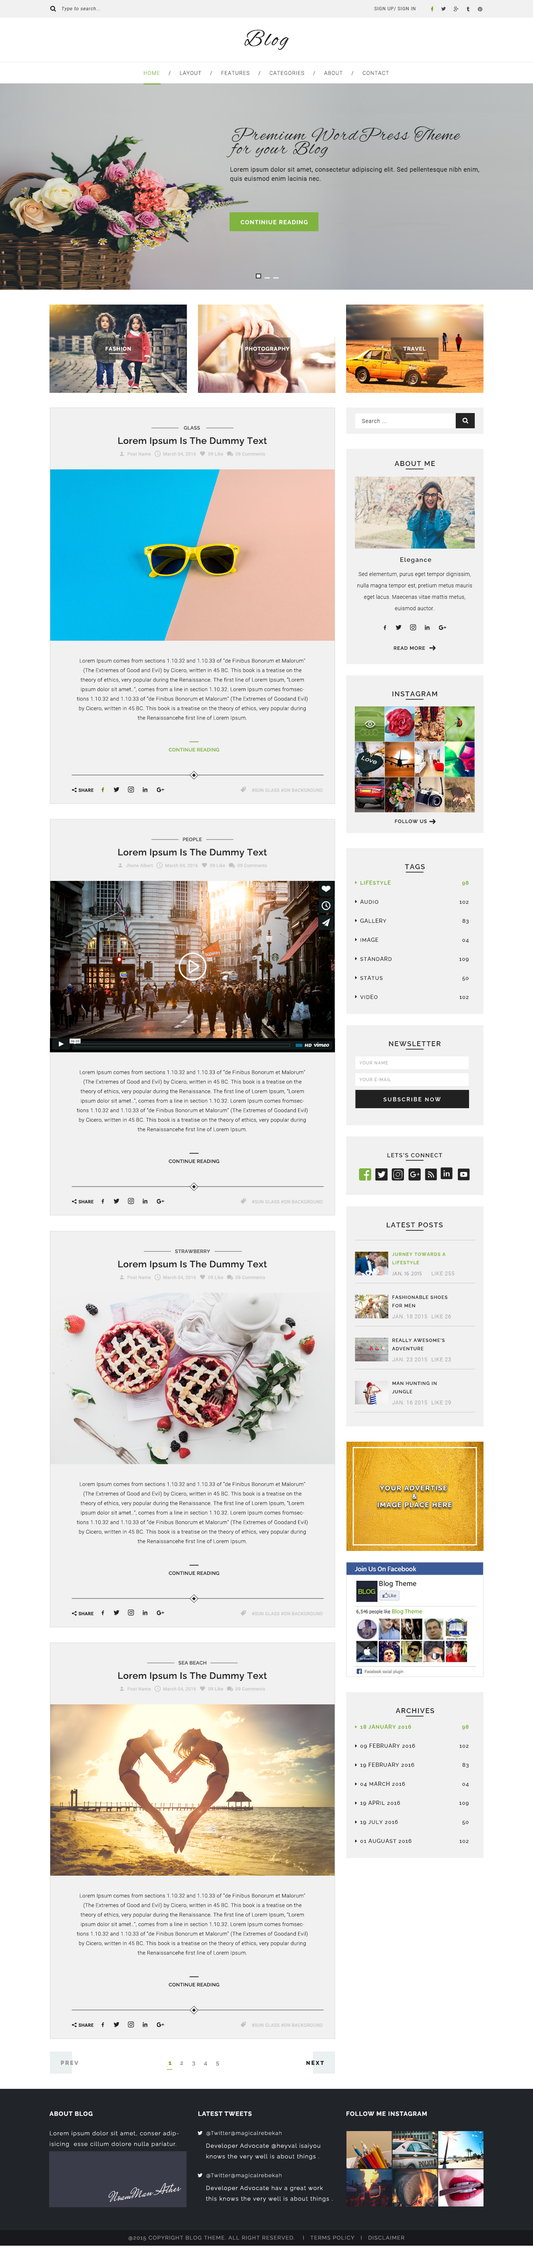
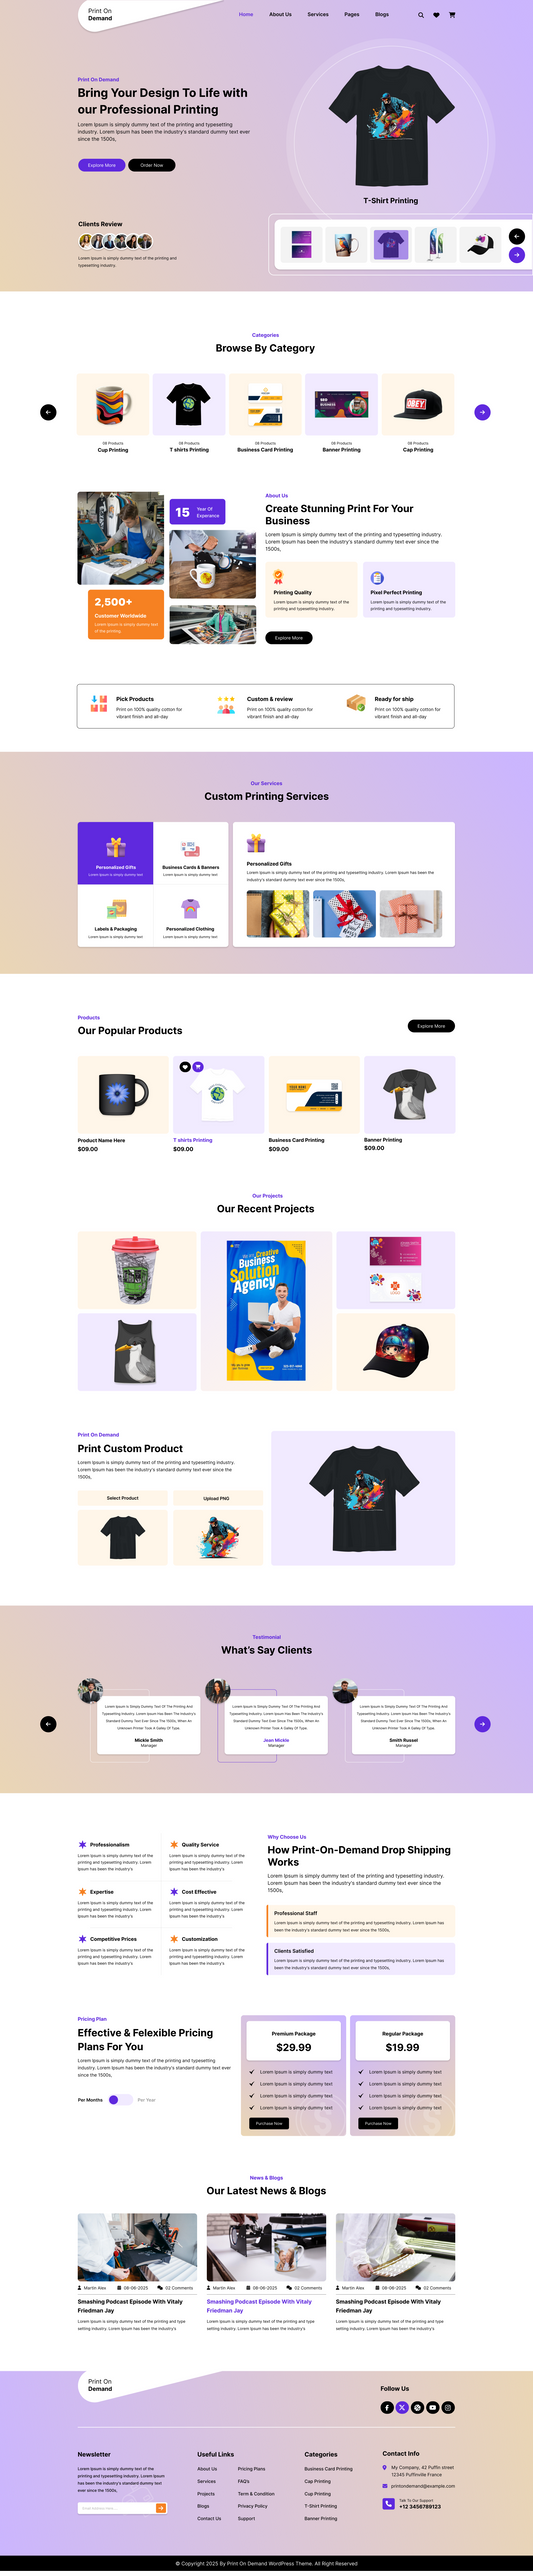
You need a sales funnel. By leveraging the flexibility of premium WordPress templates , you can create a strategic journey that nurtures leads and maximizes every click. If you want to see real growth in 2026, you need to stop hoping for sales and start engineering them. A sales funnel is your 24/7 digital salesperson, guiding users through every stage of the buying process while you sleep.
In this guide, we’ll show you how to build a high-converting WordPress funnel that turns cold traffic into loyal customers, automatically. Whether you’re selling digital courses, physical products, or services, this post is your blueprint for building a conversion machine directly on your WordPress dashboard.
What is WordPress Sales Funnel?
WordPress Sales Funnel is a complete structure which includes the process of guiding users to your speeding up Wordpress website. The process further takes users from not just visiting the online store but encouraging them to have a smart purchase. It professionally integrates with tools, strategies, and content for users to move smoothly throughout the process bringing awareness to conversion.
In simple terms, a WordPress Sales Funnel is a strategic series of pages on your website designed to lead a visitor from "just looking" to "buying."
While a standard website is like a digital brochure where people can wander around, a funnel is like a guided tour. It removes distractions and focuses the visitor on one specific action at a time.
How to Build a WordPress Sales Funnel?
Creating a high-converting sales funnel in WordPress doesn't require a degree in web development, especially with a tool like FunnelKit (formerly WooFunnels). It essentially "wraps" around WooCommerce to turn a standard shop into a sleek, conversion-focused machine. Here are the easy steps to build your funnel.
Before you start clicking, ensure you have WooCommerce installed and your primary product created. FunnelKit pulls data directly from your WooCommerce product list.
In the WordPress ecosystem, many premium plugins use a "Premium" model. FunnelKit is one of them. FunnelKit Funnel Builder is a WordPress plugin that helps you create sales funnels, optimized checkout pages, upsells, and landing pages for WooCommerce.

- Log in to your WordPress admin panel.
- Click Plugins from the left menu.
- Click the Add New button.
- In the search bar, type: FunnelKit Funnel Builder
- Locate the plugin in the results.
- Click Install Now.
- After installation, click Activate.
FunnelKit allows you to design funnel pages using popular WordPress page builders. This means you can visually edit landing page builder WordPress , checkout pages, and upsell pages without coding.
Supported builders include: Elementor, Divi, Gutenberg (WordPress Block Editor) and Bricks. This is the most important step for your workflow. FunnelKit comes with hundreds of pre-designed templates for Sales Pages, Checkouts, and Upsells.
How to set it up:
- Navigate to FunnelKit > Settings.
- Under the General tab, look for Page Builder.
- Choose your primary builder
Step 1: Create a New Funnel

This is the moment where you move from "technical setup" to "business building." When you click Create New Funnel, FunnelKit acts as a blueprint architect, laying out the sequence of pages your customer will travel through.
Once you click Create New Funnel, you aren't just looking at a list of designs; you are looking at Pre-Configured Flows. FunnelKit categorizes these based on your specific business goal. Lead Generation and Sales Funnels. These are two of FunnelKit’s most popular "Full-Stack" templates: Utopia and Optimum.
When you "Import" a template like Utopia, FunnelKit automatically creates multiple pages for you instantly.
Preview the flows.
Click Import and give your funnel a name
Step 2: Customise the Sales/Landing Page

Once you’ve imported your template, the Sales Page is your "Digital Salesperson." This is the only step where you are doing the heavy lifting of convincing the customer to buy.
In the FunnelKit workflow, you will see your funnel steps listed vertically.
- Click on the Sales Page step.
- Click the Edit tab.
- Click the large button that says "Edit Template"
- This opens your familiar page builder interface, but with FunnelKit's pre-designed blocks already in place.
- The Hook is the most common mistake in marketing. To have a high-converting page, your headline must focus on the transformation the customer experiences.
- The "Buy Now" button on a Sales Page is the bridge to the next phase of the journey.
- Most people don't read every word; they scroll quickly. To capture these people, use subheadings, bullet points and social proof.
Step 3: Add the Product to the Checkout Page

Once you’ve created your funnel, you’ll see a list of steps like Landing, Checkout, Upsell, and Thank You. Click on the Checkout step name to open its settings. You will see several tabs at the top: Design, Products, Fields, Optimisations, and Scripts.
Unlike a standard WooCommerce shop, where the product is added to a cart first, a FunnelBuilder checkout page is usually product-specific, meaning the product is pre-assigned to the page.
This is where the magic happens. Click on the Products tab. Since FunnelKit integrates directly with WooCommerce, you aren't creating a new product; you are simply "linking" an existing one.
- Search and Add: Click on "Add Product". A search bar will appear. Start typing the name of the product you created in WooCommerce.
- Select: Choose the product from the dropdown.
- Quantity: You can set a default quantity or allow the user to change it.
- Click Save when you are done.
Step 4: Optimise the Checkout Page

FunnelKit makes it easy to optimise your checkout page for higher conversions and a smoother user experience. With its powerful design and customisation options, you can create a checkout process that is simple, fast, and focused on driving sales.
You can customise the checkout form fields according to your business needs by navigating to the Design tab and scrolling down to the Checkout Form Fields section.
It provides a built-in checkout form field editor that allows you to add, edit, rearrange, or remove fields effortlessly. Using its intuitive drag-and-drop interface, you can design a clean and user-friendly checkout form without any coding knowledge.
By removing unnecessary fields and prioritising essential information, you can reduce friction in your WordPress Sales Funnel and significantly improve checkout conversions.
Beyond layout, FunnelKit packs powerful conversion-boosting tools designed to plug "leaks" in your funnel. Simply head to the Optimizations tab to toggle on features like Google Address Autocomplete or Express Checkout. These small tweaks significantly reduce friction, ensuring a smoother path to purchase.
Don't forget to hit Save to push your updates live.
Step 5: Add an Order Bump

To maximise the revenue of your WordPress Sales Funnel, you need to capitalise on the moment of highest intent. This is where the Order Bump, often called the "secret sauce" of high-performing funnels, comes into play. An Order Bump is a strategic, small checkbox offer placed directly on the checkout page. It allows customers to add a complementary item to their cart with a single click before they hit the final "Place Order" button.
Inside your FunnelKit editor, follow these steps to boost your profits:
- Create the Offer: Within your Checkout step, click on Order Bump > Add New Order Bump.
- Select the Product: Choose a complementary item from your WooCommerce list that enhances the main purchase.
- Craft a short, high-energy description that highlights the immediate value or the "limited-time" nature of the deal.
- This simple addition to your WordPress Sales Funnel is one of the easiest ways to increase your Average Order Value (AOV) by 10% to 30% without spending an extra cent on ads.
Step 6: Add a One-Click Upsell

After the customer clicks “Place Order,” don’t send them directly to the Thank You page. Instead, leverage this moment by adding a One-Click Upsell step to your WordPress Sales Funnel. With FunnelKit, you can:
- Add a One-Click Upsell step immediately after checkout.
- Offer a premium or higher-tier version of the product, or a compelling deal like “Buy 2 Get 1 Free.”
- Present relevant, value-driven offers that naturally complement the original purchase.
Step 7: The "Thank You" Page
Finalize the customer journey with a clean, well-designed confirmation page in your WordPress Sales Funnel. This page reassures customers that their order has been successfully placed and reinforces trust in your brand.
Use this space to clearly set expectations, such as delivery timelines, next steps, or access instructions, and encourage further engagement by inviting customers to follow you on social media, join your community, or explore related offers. A strategically designed Thank You page can strengthen relationships and enhance the overall performance of your Sales Funnel.
Tips to Build and Optimise WordPress Sales Funnel
Building a high-performing WordPress Sale Funnel requires a blend of psychology, technical speed, and data-driven adjustments. While tools like FunnelKit provide the infrastructure, these strategic tips will help you squeeze every drop of ROI out of your setup.
1. Master the "Above the Fold" Rule: In a WordPress Sale Funnel, the first thing a user sees without scrolling is the most critical. Ensure your headline (The Hook), a compelling visual, and a Call-to-Action (CTA) button are all visible immediately.
2. Speed is Your Best Salesperson: WordPress can sometimes become bloated with heavy plugins. A slow WordPress Funnel is a dead funnel. Use a lightweight theme and ensure your images are compressed.
3. Implement Exit-Intent Popups: Don't let visitors leave your WordPress Sale funnel empty-handed. Set up a popup that triggers only when a user moves their mouse toward the "X" on their browser.
4. Leverage Social Proof Strategically: People buy what others are buying. To build trust within your WordPress Sale Funnel, you need external validation. Place testimonials near your CTA buttons and checkout fields.
5. Use the "Rule of One": A common mistake in a WordPress Sale Funnel is giving the user too many choices. Each page in your funnel should have one goal, one message, and one primary button.
Conclusion
Building a high-converting WordPress Sales Funnel is the single most effective way to transition from a "passive shop" to an "active revenue engine." By moving away from the traditional, distracted e-commerce experience and toward a guided, strategic journey, you take control of the customer’s decision-making process.
By pairing a WP Theme Bundle with powerful tools like WooCommerce and FunnelKit, you can create streamlined sales pages, optimized checkout flows, order bumps, and one-click upsells without complexity. These themes are designed with simplicity and clarity in mind, helping improve user experience while boosting conversion rates through proven layouts and performance-optimized structures.
Ultimately, a well-designed WordPress Sales Funnel not only increases sales but also enhances customer engagement, builds trust, and maximizes the lifetime value of your customers. Whether you’re running an online store, selling digital products, or offering services, investing time in creating and refining your Sales Funnel can deliver long-term growth and sustainable results.
Frequently Asked Questions (FAQs)
1. Why is a sales funnel important for WordPress websites?
A sales funnel helps businesses increase conversions by targeting users at different stages of the buying journey. Instead of relying on random traffic, it creates a systematic path that nurtures leads, builds trust, and encourages purchases or sign-ups.
2. Do I need coding skills to build a WordPress sales funnel?
No, most WordPress sale funnels can be built without coding. With page builders, funnel plugins, and automation tools, beginners can create professional funnels using drag-and-drop interfaces.
3. How does email marketing fit into a WordPress sales funnel?
Email marketing plays a crucial role in nurturing leads and guiding them toward conversion. Automated email sequences help build relationships, provide value, and encourage users to take the next step in the funnel.
4. How can I track the performance of a WordPress sale funnel?
You can track funnel performance using tools like Google Analytics, MonsterInsights, or built-in funnel analytics plugins. Key metrics include traffic, conversion rate, bounce rate, and customer lifetime value.